
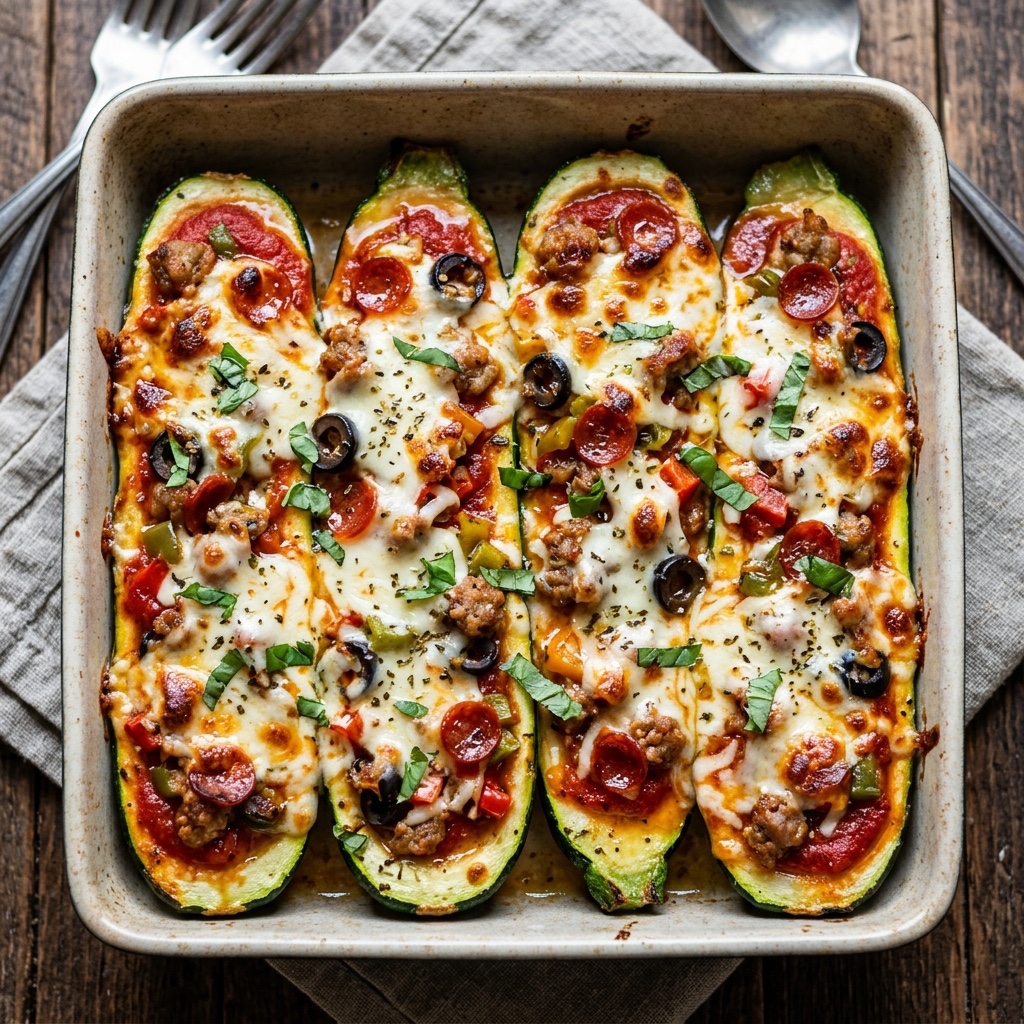
The Dessert That Defies Physics: My Love Affair With Baked Alaska
I’ll never forget the first time I saw a Baked Alaska. I was nine years old, sitting at my aunt’s holiday table, when she emerged from the kitchen carrying what looked like a snow-covered mountain, flames actually licking the sides. The entire room gasped. Then she set it down, and we watched in pure wonder as she sliced through the toasted meringue to reveal layers of chocolate cake and bright strawberry ice cream hiding inside. It felt like edible magic.
Decades later, that sense of wonder hasn’t faded one bit. Baked Alaska is the dinner party showstopper that never gets old. It’s a dessert built on a beautiful contradiction – cold ice cream wrapped in a warm, toasted meringue blanket, sitting on a tender cake base. The trick, of course, is that the meringue acts as the perfect insulator, protecting the ice cream from the heat of the oven or torch. Science never tasted so good.
I’ve made this dessert for birthdays, anniversaries, and random Tuesdays when I needed a little magic in my life. And today, I’m going to walk you through every single step so you can create your own showstopping Baked Alaska at home. Trust me, if I can do it, you absolutely can too.
—
Recipe Timing
- Prep Duration: 1 hour 30 minutes (includes cake baking and ice cream softening)
- Active Cooking: 20 minutes (baking the cake and toasting the meringue)
- Total Duration: 5 hours (includes 3 hours of freezing time)
- Portion Size: 8 generous servings
- Complexity: Moderate
—
Nutritional Recipe
- Calories per portion: 485 kcal
- Protein: 8g
- Carbs: 62g
- Fats: 24g
- Fiber: 1g
- Sugars: 45g
- Sodium: 210mg
—
Why You’ll Love This Baked Alaska
First and foremost, this dessert is a conversation starter. When you bring a Baked Alaska to the table, people stop mid-sentence. Their phones come out. They lean in closer. It creates a moment.
Beyond the drama, the flavor combination is pure comfort. You get a thin layer of tender cake, a core of creamy ice cream, and that cloud-like meringue with its golden, toasted peaks. Every bite has texture and temperature contrast that keeps you coming back for more.
Plus, this recipe is easier than it looks. You don’t need any fancy equipment – just a mixer, a baking sheet, and a torch or hot oven. And here’s the best part: you can make almost everything ahead of time. That makes it perfect for entertaining when you want to spend time with your guests instead of hovering over the stove.
—
The Complete Cooking Journey
Making a Baked Alaska is like putting together a beautiful puzzle. There are three main pieces: the cake base, the ice cream filling, and the meringue topping. Each one comes together separately, and then you assemble them into one stunning dessert.
The cake layer needs to be thin and sturdy enough to hold the ice cream without getting soggy. A simple sponge cake or even a brownie base works beautifully. The ice cream should be softened just enough to shape into a dome, then frozen solid again. And the meringue – that’s where the magic happens. It needs to be thick, glossy, and stable enough to insulate the cold ice cream while it browns.
The moment of truth comes when you apply heat to that meringue. Whether you use a kitchen torch or a quick blast in a hot oven, watching those white peaks turn golden brown is pure satisfaction. And when you slice into it and reveal the frozen center perfectly intact? That’s when you feel like a culinary rockstar.
—
Ingredients
For the Cake Base:
- 4 large eggs, at room temperature
- ½ cup (100g) granulated sugar
- 1 teaspoon vanilla extract
- ½ cup (65g) all-purpose flour, sifted
- ¼ teaspoon salt
- 2 tablespoons unsalted butter, melted and cooled
For the Ice Cream Layer:
- 1½ quarts (about 1.4 liters) of your favorite ice cream – I use strawberry or vanilla
- Note: You’ll want the ice cream softened just enough to shape
For the Meringue Topping:
- 4 large egg whites, at room temperature
- ¼ teaspoon cream of tartar
- ⅔ cup (135g) granulated sugar
- 1 teaspoon vanilla extract
For Assembly:
- Parchment paper
- A large baking sheet or oven-safe platter
—
Method
Step 1: Bake the Sponge Cake Base
Preheat your oven to 350°F (175°C). Grease a 9-inch round cake pan and line the bottom with parchment paper. In a large mixing bowl, beat the eggs and sugar together with an electric mixer on high speed for about 5 minutes until the mixture is pale, thick, and tripled in volume. Beat in the vanilla extract. Gently fold in the sifted flour and salt using a spatula, being careful not to deflate the batter. Finally, fold in the melted butter. Pour the batter into the prepared pan and bake for 12–15 minutes, until the cake is golden and springs back when lightly touched. Let it cool in the pan for 5 minutes, then turn it out onto a wire rack to cool completely.
Step 2: Prepare the Ice Cream Dome
While your cake cools, take your ice cream out of the freezer and let it soften at room temperature for about 10–15 minutes. You want it soft enough to scoop and shape, but not melted. Line a medium mixing bowl (about 6–7 inches wide) with a large sheet of plastic wrap, letting the edges hang over. Scoop the softened ice cream into the bowl and press it firmly against the sides, smoothing the top. Cover with the overhanging plastic wrap and freeze for at least 3 hours, or until completely solid.
Step 3: Assemble the Base and Ice Cream
Once the cake is completely cool and the ice cream dome is frozen solid, place the cake on your serving platter or a parchment-lined baking sheet. Unwrap the ice cream dome, invert it onto the center of the cake, and peel off the plastic wrap. The dome should sit neatly on top of the cake. Return the whole assembly to the freezer for at least 30 minutes while you make the meringue.
Step 4: Make the Stable Meringue
In a clean, dry mixing bowl, combine the egg whites and cream of tartar. Beat with an electric mixer on medium speed until soft peaks form. Gradually add the sugar, about a tablespoon at a time, while continuing to beat on high speed. Keep beating until the meringue is glossy and stiff peaks hold firmly when you lift the beaters. Beat in the vanilla extract. This should take about 5–7 minutes total. The meringue should be thick enough that it doesn’t slide off a spatula.
Step 5: Cover the Alaska with Meringue
Take the cake and ice cream assembly out of the freezer. Working quickly, use a spatula to spread the meringue over the entire surface, starting at the bottom of the cake and working your way up and over the ice cream dome. Make sure the meringue completely covers the ice cream with no gaps – every bit of exposed cake and ice cream must be sealed. Create decorative peaks and swirls with your spatula or the back of a spoon. Freeze the assembled Baked Alaska for at least 1 hour, or up to 24 hours before serving.
Step 6: Toast the Meringue to Golden Perfection
When you’re ready to serve, preheat your oven to 500°F (260°C). Place the Baked Alaska on a baking sheet and bake for 3–5 minutes, watching carefully, until the meringue peaks are golden brown. Alternatively, use a kitchen torch to toast the meringue evenly, moving the flame in a sweeping motion until the entire surface is beautifully browned. If using the torch method, keep the flame moving to avoid burning any one spot.
Step 7: Slice and Serve Immediately
Transfer the Baked Alaska to a serving platter. Use a sharp knife dipped in hot water and wiped dry between slices for clean cuts. Serve immediately while the meringue is warm and the ice cream is still firm. Each slice should reveal that beautiful contrast of warm meringue, cold ice cream, and tender cake.
—
Serving Suggestions & Pairings
A Baked Alaska is already spectacular on its own, but a few thoughtful accompaniments can elevate it even further. A drizzle of warm chocolate sauce or berry coulis adds richness and color contrast. Fresh berries – raspberries, strawberries, or blueberries – scattered around the platter make it look even more gorgeous.
For drinks, this dessert pairs beautifully with espresso, cappuccino, or a strong black coffee. The bitterness cuts through the sweetness perfectly. If you’re serving it after a celebratory dinner, a glass of chilled Moscato d’Asti or a dessert wine like Sauternes is a lovely match.
This is the kind of dessert you bring out for birthdays, anniversaries, holiday dinners, or any occasion where you want to create a memorable moment. It’s theatrical without being fussy.
—
Storage & Leftovers Guide
Here’s the great news: you can assemble your Baked Alaska completely (minus the toasting step) up to 24 hours ahead of time. Just keep it in the freezer, well-wrapped in plastic wrap to prevent freezer odors. Then, when you’re ready to serve, simply torch or bake it.
Once toasted, Baked Alaska should be served immediately. Leftovers aren’t ideal because the meringue will start to weep and the ice cream will melt and refreeze oddly. However, if you have leftovers, you can carefully wrap the entire thing in plastic wrap and return it to the freezer for up to 2 days. The meringue won’t be as fluffy when you re-toast it, but it’s still tasty.
For best results, only toast as much as you plan to eat in one sitting. If you want smaller servings, consider making individual Baked Alaskas using ramekins or small bowls.
—
Kitchen Wisdom & Success Tips
The most important rule for Baked Alaska is that your ice cream must be absolutely frozen solid before you add the meringue. If it’s even slightly soft, the heat from the oven or torch will turn it into soup. Give it those full 3 hours of freezing time, and don’t rush.
Your egg whites need to be at room temperature for the meringue to whip up properly. Cold eggs won’t reach full volume. Separate them while cold (it’s easier), then let the whites sit on the counter for about 20 minutes before beating.
Make sure no trace of egg yolk gets into your whites. Any fat will prevent the whites from whipping into stiff peaks. If you’re nervous, separate each egg into a small bowl first before adding to the main mixing bowl.
When you spread the meringue over the ice cream, work quickly and confidently. If the ice cream starts to soften as you work, pop the whole thing back in the freezer for 15 minutes before continuing.
If using the oven method, keep a close eye on it. Those 3–5 minutes go fast, and every oven is different. You want golden brown, not burnt. When in doubt, use a kitchen torch – it gives you more control.
—
Flavor Variations & Adaptations
The beauty of Baked Alaska is that you can customize every layer. For the cake base, try a chocolate sponge, a brownie layer, or even a thin lemon cake for brightness. You can also use store-bought pound cake slices if you’re short on time.
Ice cream flavors are where you can really play. Classic vanilla works beautifully, but chocolate, coffee, mint chip, or mango sorbet are all fantastic. For a real showstopper, use two different ice cream flavors – layer them in the bowl for a striped effect.
The meringue can be flavored too. Add a teaspoon of instant espresso powder for a coffee kick, a drop of peppermint extract for a holiday version, or a sprinkle of cinnamon for warmth. You can also tint the meringue with a drop of food coloring for special occasions.
For a gluten-free version, swap the all-purpose flour for a gluten-free flour blend in the cake. The texture will be slightly different, but it still works wonderfully.
—
Reader Questions & Solutions
Q: My meringue keeps deflating. What am I doing wrong?
A: This usually happens when there’s fat in the egg whites, or if the bowl isn’t perfectly clean. Make sure your bowl and beaters are spotless and free of any grease. Also, add the cream of tartar – it helps stabilize the egg whites. If your meringue still won’t hold stiff peaks, start over with fresh eggs.
Q: Can I use store-bought cake instead of making my own?
A: Absolutely! A store-bought pound cake or even a thin layer of brownie works perfectly. Just slice it into a round shape that matches your ice cream dome. This shortcut saves time without sacrificing the wow factor.
Q: The ice cream started melting when I spread the meringue. What should I do?
A: Don’t panic. If the ice cream feels soft, immediately return the whole assembly to the freezer for 15–20 minutes. It will firm back up. Then continue with the meringue. Work in short bursts and keep everything cold in between steps.
Q: Can I make Baked Alaska without a kitchen torch?
A: Yes, and it works beautifully! The oven method at 500°F is reliable. Just watch it closely and rotate the platter halfway through for even browning. Some people also brown it under the broiler, but keep a constant eye on it because broilers are aggressive.
Q: My meringue turned out sticky and weepy after toasting. Why?
A: That usually means the sugar wasn’t fully dissolved during whipping. When you rub a bit of meringue between your fingers, it should feel smooth, not grainy. Also, avoid making meringue on a humid day – moisture in the air can cause weeping.
Q: How far ahead can I make the full assembled dessert before toasting?
A: You can assemble everything except the toasting up to 24 hours ahead. Just wrap it well in plastic wrap and keep it in the freezer. The meringue will stay fluffy and the cake won’t get soggy if it’s properly sealed.
Q: The cake got soggy underneath the ice cream. How do I prevent that?
A: Make sure your cake is completely cool before assembling. You can also brush the cake with a thin layer of melted white chocolate or apricot jam before placing the ice cream on top. This creates a barrier that prevents moisture from seeping into the cake.
—
Wrapping Up
There’s a reason Baked Alaska has been wowing dinner guests for over a century. It’s dessert as theater, yes, but it’s also just genuinely delicious. That contrast of textures and temperatures, the way the warm meringue gives way to cold, creamy ice cream and tender cake – it’s a symphony in every bite.
I hope you give this recipe a try, whether it’s for a holiday gathering, a birthday celebration, or just because you want to feel like a kitchen magician for an evening. Take your time with each step. Enjoy the process. And when you bring that golden, toasted masterpiece to the table and hear the oohs and ahhs, know that you absolutely earned them.
Now go make some edible magic. You’ve got this.
—

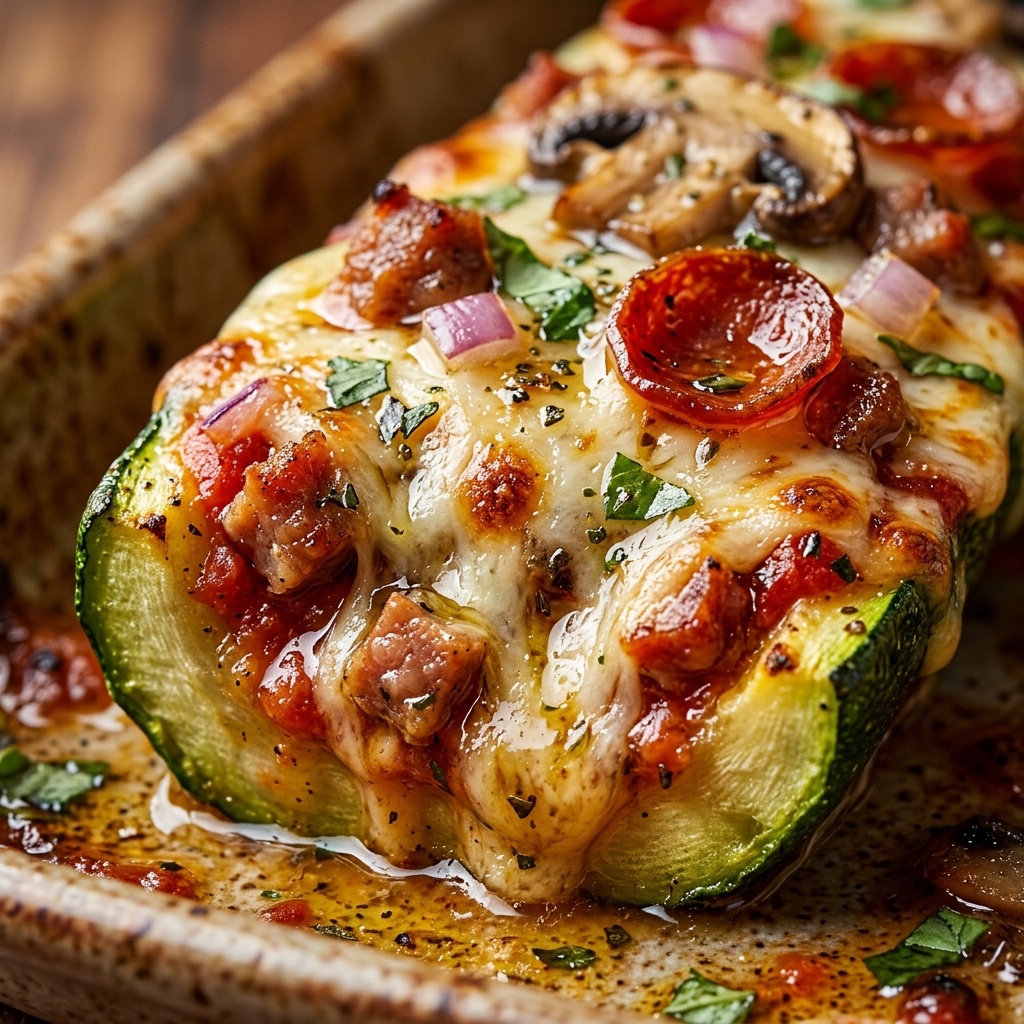
Zucchini Pizza Boats

- Prep Time: 1 hour 30 minutes
- Cook Time: 20 minutes
- Total Time: 5 hours
- Yield: 8 generous servings 1x
Ingredients
½ cup (100g) granulated sugar
1 teaspoon vanilla extract
½ cup (65g) all-purpose flour, sifted
¼ teaspoon salt
2 tablespoons unsalted butter, melted and cooled
¼ teaspoon cream of tartar
1 teaspoon vanilla extract
Nutrition
- Calories: 485 kcal
- Sugar: 45g
- Sodium: 210mg
- Fat: 24g
- Carbohydrates: 62g
- Fiber: 1g
- Protein: 8g