
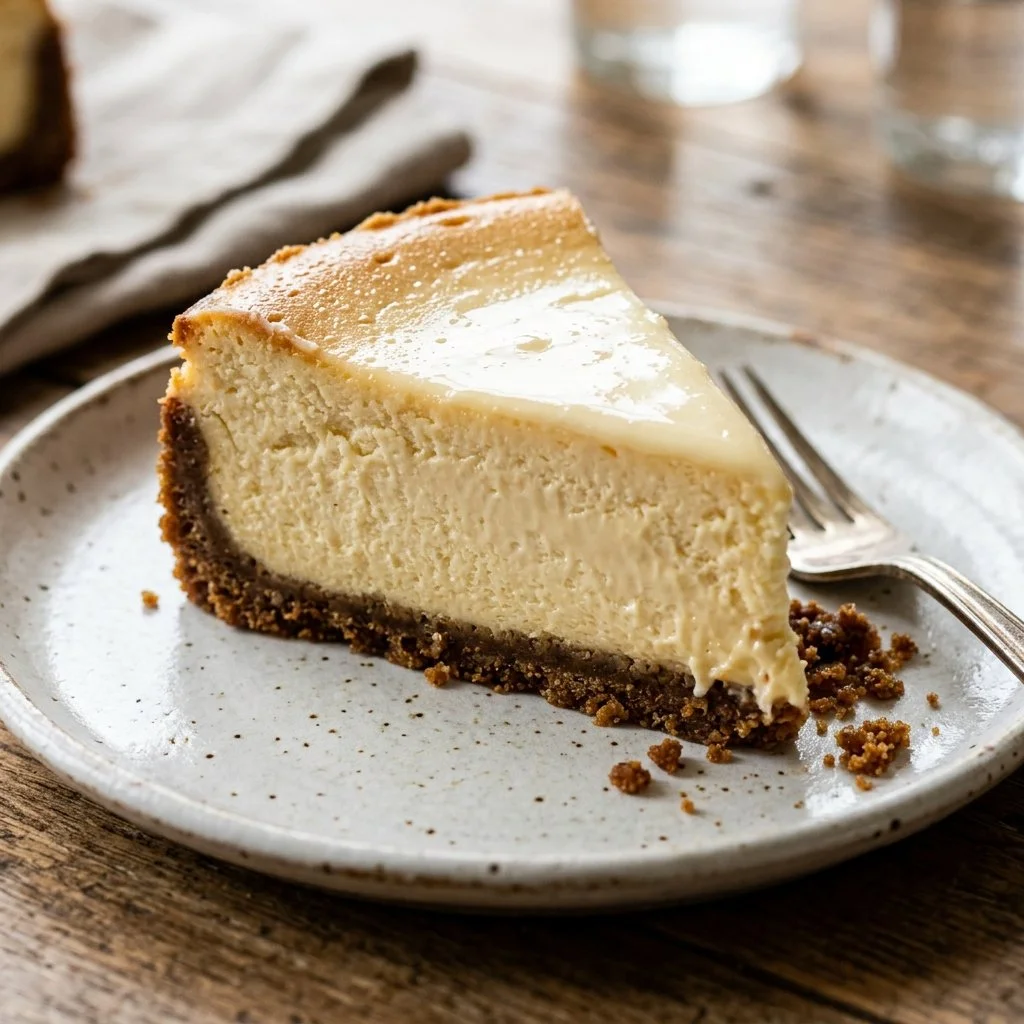
There’s something absolutely magical about baking a cheesecake. The aroma that fills your kitchen as it bakes is a warm embrace, reminiscent of family gatherings and celebrations. For me, the first successful cheesecake I ever made was a game-changer. I remember pulling it out of the oven, its golden hue glistening under the kitchen light, and feeling a rush of pride wash over me. This isn’t just any cheesecake; this is a classic New York Cheesecake that has the power to turn any ordinary day into something special.
Recipe Timing
- Prep Duration: 20 minutes
- Active Cooking: 1 hour
- Total Duration: 5 hours (including chilling)
- Portion Size: 10-12 servings
- Complexity: Simple
Nutritional Recipe
- Calories per portion: Approximately 365
- Protein: 7 grams
- Carbs: 26 grams
- Fats: 27 grams
- Fiber: 0 grams
- Sugars: 19 grams
- Sodium: 346 mg
Why You’ll Love This New York Cheesecake
This New York Cheesecake shines for its silky, rich texture and the perfect balance between creamy and tangy flavors. Unlike many desserts that leave you feeling overly sweetened, this cheesecake is refreshing and satisfying. Each bite melts in your mouth, leaving a hint of vanilla and a buttery crust that’s simply divine. It’s so incredibly irresistible that you won’t want to wait for it to chill before diving in!
The Complete Cooking Journey
Let’s embark on a culinary journey! From the moment you gather your ingredients to the final slice of cheesecake served on a plate, every step is filled with joy. As you create this dessert, you’ll not only be making something delicious but also memories to savor.
Ingredients
- 2 cups graham cracker crumbs
- 1/2 cup sugar
- 1/2 cup butter, melted
- 4 (8 oz) packages cream cheese, softened
- 1 cup sugar
- 1 teaspoon vanilla extract
- 4 large eggs
- 1 cup sour cream
- 1/4 cup all-purpose flour
Method
Step 1: Preheat the Oven
Preheat your oven to 325°F (163°C). This step is essential to ensure even cooking for your cheesecake.
Step 2: Prepare the Crust
In a medium bowl, mix together the graham cracker crumbs, 1/2 cup sugar, and melted butter until they are well combined. Press this mixture firmly into the bottom of a 9-inch springform pan, forming a sturdy crust.
Step 3: Cream the Cheese
In a large bowl, beat the softened cream cheese with the 1 cup of sugar until the mixture is smooth and creamy. You want it to achieve that perfect silky texture.
Step 4: Add the Flavor
Add the vanilla extract to the cream cheese mixture and blend until it’s fully incorporated. This will enhance the overall flavor!
Step 5: Introduce the Eggs
Add the eggs one at a time, ensuring to mix well after each addition. This helps maintain the airy texture that makes cheesecake so delightful.
Step 6: Incorporate Sour Cream and Flour
Mix in the sour cream and flour until just combined. Be careful not to overmix, as you want to keep the airiness intact.
Step 7: Pour the Filling
Pour the creamy filling over your prepared crust, smoothing it out evenly with a spatula.
Step 8: Begin Baking
Bake in the preheated oven for about 1 hour. Once done, turn off the oven and let the cheesecake sit inside for another hour. This slow cooling process helps prevent cracks.
Step 9: Cooling Down
Remove the cheesecake from the oven and allow it to cool completely at room temperature.
Step 10: Chill Before Serving
Chill the cheesecake in the refrigerator for at least 4 hours (or overnight if you can resist!). This final step is crucial for achieving that perfect texture.
Serving Suggestions & Pairings
Serve your New York Cheesecake plain or top it with a fresh fruit compote, chocolate sauce, or caramel drizzle for added flair. A dollop of whipped cream can also elevate the experience. Pair it with a cup of coffee or a sweet dessert wine for a delightful evening treat.
Storage & Leftovers Guide
Store any leftovers in the refrigerator, covered tightly with plastic wrap or in an airtight container. The cheesecake will last for about 4-5 days. If you prefer to extend its shelf life, you can freeze slices wrapped in plastic wrap and stored in an airtight container; they will maintain quality for up to 2 months.
Kitchen Wisdom & Success Tips
- Make sure the cream cheese is at room temperature for easy blending.
- Avoid opening the oven door frequently while baking, as this can cause temperature fluctuations that lead to cracks.
- If your cheesecake has cracks, don’t worry! You can cover it with fruit or ganache to keep it visually stunning.
Flavor Variations & Adaptations
Feeling adventurous? Consider adding a swirl of chocolate, pumpkin puree, or even a hint of lemon zest to the filling. You can also experiment with using a nut-based crust or gluten-free graham cracker crumbs for dietary needs.
Reader Questions & Solutions
-
What should I do if my cheesecake cracks?
- Cracks are often due to overmixing or temperature changes. Make sure to mix gently and avoid opening the oven door. If cracks do appear, a fruit topping can hide them wonderfully.
-
Can I make this cheesecake ahead of time?
- Absolutely! It keeps well in the fridge for several days or it can be frozen for up to two months.
-
Is it necessary to use a springform pan?
- Yes, a springform pan allows for easy removal of the cheesecake without damaging its sides. If you don’t have one, use a regular round pan but be gentle when serving.
-
How do I know when my cheesecake is done?
- The edges should be set while the center may still jiggle slightly. It will firm up as it cools.
-
Why does my cheesecake have a grainy texture?
- This can be the result of not softening the cream cheese enough or overmixing. It’s vital to let it reach room temperature and to mix at a low speed.
Wrapping Up
There you have it – a velvety New York Cheesecake that not only brings satisfaction but also the joy of homemade baking. There’s nothing quite like slicing into this treat and sharing it with loved ones. So grab your ingredients, roll up your sleeves, and get ready to fall in love with this classic dessert all over again! Happy baking!