
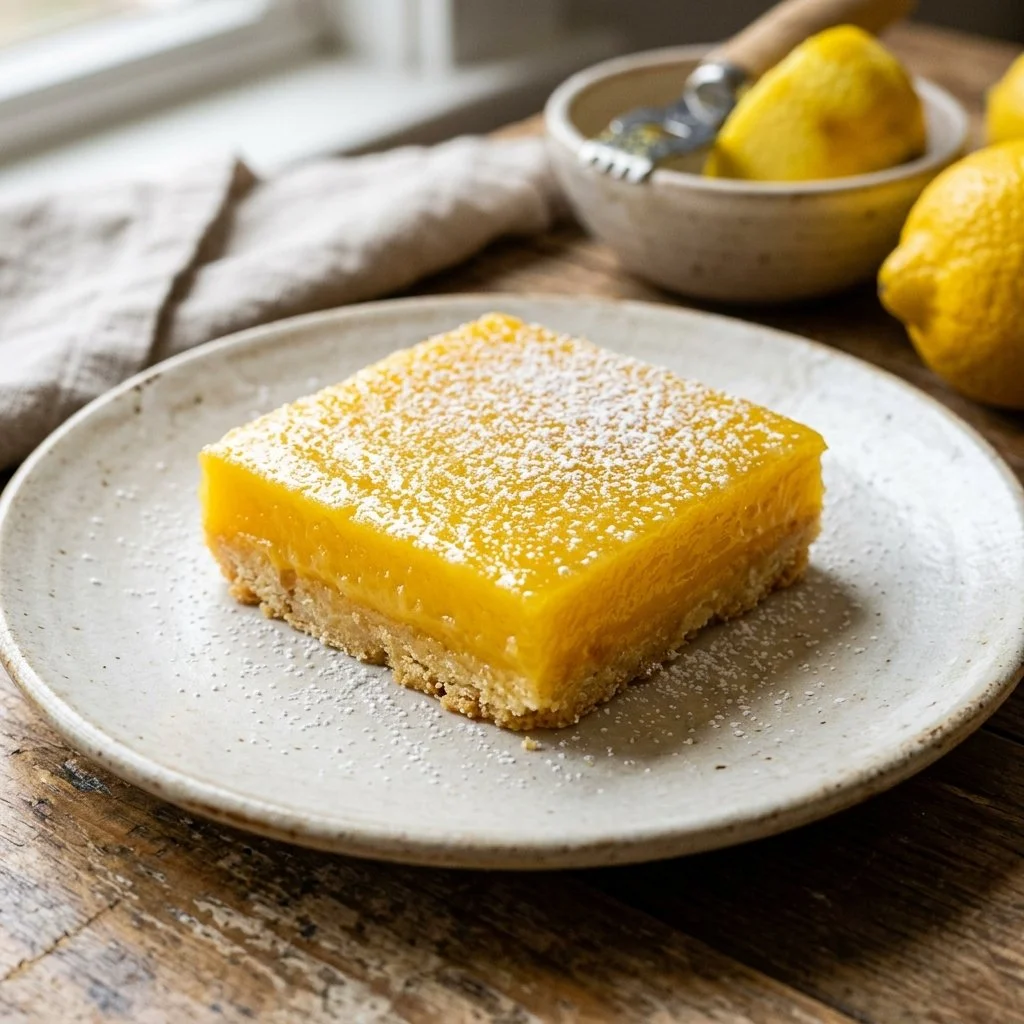
There’s something undeniably enchanting about the aroma of lemon wafting through the kitchen, isn’t there? It’s a scent that brings warmth and sunshine even on the dreariest of days. My love affair with lemon bars began when I was just a kid, standing beside my grandmother in her bustling kitchen. With every zesty squeeze of fresh lemons, I felt like I was part of something magical. Those moments, filled with laughter and the sweet-tart tang of lemons, inspired me to recreate this simple yet sublime dessert in my own home. And let me tell you, each time I cut into a perfectly baked lemon bar, I’m transported back to those blissful afternoons, surrounded by love, family, and of course, delicious treats.
Recipe Timing
- Prep Duration: 15 minutes
- Active Cooking: 35 minutes
- Total Duration: 50 minutes
- Portion Size: 16 bars
- Complexity: Simple
Nutritional Recipe
- Calories per portion: Approximately 130
- Protein: 2 grams per serving
- Carbs: 18 grams per serving
- Fats: 6 grams per serving
- Fiber: 0.5 grams per serving
- Sugars: 10 grams per serving
- Sodium: 60 mg per serving
Why You’ll Love This Lemon Bars
These lemon bars are not just any dessert; they are a burst of sunshine on your palate. With their buttery shortbread crust and vibrant lemon filling, they strike the perfect balance between rich and refreshing. They are easy enough to whip up for a weeknight treat, yet impressive enough to steal the spotlight at gatherings. Plus, the simple ingredients mean you likely have everything you need right in your pantry. Once you take that first bite, you’ll understand why they’re a family favorite!
The Complete Cooking Journey
Let’s embark on this delightful journey together — from the joy of mixing and baking to the rewarding moment of dusting your finished bars with a sprinkle of powdered sugar. Each step is an invitation to savor the process and unleash your inner pastry chef. Plus, you’ll be rewarded with an irresistible treat that’s perfect for any occasion.
Ingredients:
- 1 cup all-purpose flour
- 1/2 cup powdered sugar
- 1/4 cup unsalted butter, softened
- 2 large eggs
- 1 cup granulated sugar
- 1/2 cup fresh lemon juice
- 1 teaspoon lemon zest
- 1/2 teaspoon baking powder
- Pinch of salt
- Powdered sugar for dusting
Method:
Step 1: Preheat and Prep the Oven
Preheat the oven to 350°F (175°C). Grease a baking dish generously to ensure easy removal of the bars later.
Step 2: Create the Crust Mixture
In a bowl, combine the all-purpose flour and powdered sugar. Next, cut in the softened butter until the mixture becomes crumbly. This buttery base will form the perfect foundation for your lemony filling.
Step 3: Form the Crust
Press the crumbly mixture firmly into the bottom of the prepared baking dish. Bake this crust in the preheated oven for 15 minutes, or until it’s lightly golden.
Step 4: Whisk Up the Lemon Filling
In another bowl, whisk together the eggs, granulated sugar, fresh lemon juice, lemon zest, baking powder, and a pinch of salt. This aromatic mixture is the heart of your lemon bars.
Step 5: Pour and Bake
Once your crust has baked, pour the citrusy filling over the warm crust. Bake for an additional 20 minutes, until the bars are set and a lovely golden hue appears on top.
Step 6: Cool and Dust
Allow the lemon bars to cool to room temperature. Once cooled, dust generously with powdered sugar before cutting into squares and serving.
Serving Suggestions & Pairings
Lemon bars are delightful on their own, but they shine even brighter when paired with a dollop of whipped cream, a scoop of vanilla ice cream, or a side of fresh berries. They also make a perfect tea-time treat alongside a refreshing cup of iced tea or lemon-infused water. For a fun twist, serve them at a brunch alongside fluffy pancakes or quiche!
Storage & Leftovers Guide
These lemon bars can be kept in an airtight container in the refrigerator for up to a week, though I can guarantee they won’t last that long! If you need to store them for longer, they freeze beautifully. Just make sure to wrap them tightly in plastic wrap and then store them in an airtight container for up to three months.
Kitchen Wisdom & Success Tips
- Use Fresh Lemons: Always go for fresh lemon juice and zest for the best flavor. Bottled lemon juice just doesn’t cut it!
- Let Them Cool: For perfectly cut bars, be sure to let them cool completely in the pan before slicing.
- Slicing Tip: Use a sharp knife dipped in hot water for cleaner cuts.
Flavor Variations & Adaptations
Feel free to get creative with your lemon bars! You can add a hint of lavender or rosemary for an herbal twist, or mix in some fresh raspberries before baking for a fruity fusion. For a touch of sophistication, try adding a splash of limoncello to your filling.
Reader Questions & Solutions
-
Why are my lemon bars not set?
Make sure to bake them long enough and check for a slight jiggle in the center. They will firm up as they cool. -
Can I use bottled lemon juice?
While it’s best to use fresh lemon juice for flavor, bottled juice can work in a pinch. Just keep in mind the taste might not be as bright! -
How can I tell when they’re done baking?
They should be lightly golden on top and set in the middle. A toothpick inserted should come out mostly clean. -
What’s the best way to store leftovers?
Keep them in an airtight container in the refrigerator. You can also freeze them for future enjoyment. -
Can I make them gluten-free?
Absolutely! Just substitute the all-purpose flour with a gluten-free blend, and you’re good to go!
Wrapping Up
Baking lemon bars is not just about creating a delicious treat but is all about reconnecting to joyful memories and warm experiences. With each sweet and tart bite, you’ll find yourself smiling, reminiscing about those times shared with family and friends. So, roll up your sleeves, grab those lemons, and create your batch of sunshine-filled lemon bars that are sure to delight everyone at your table. Enjoy every moment of this baking journey!