
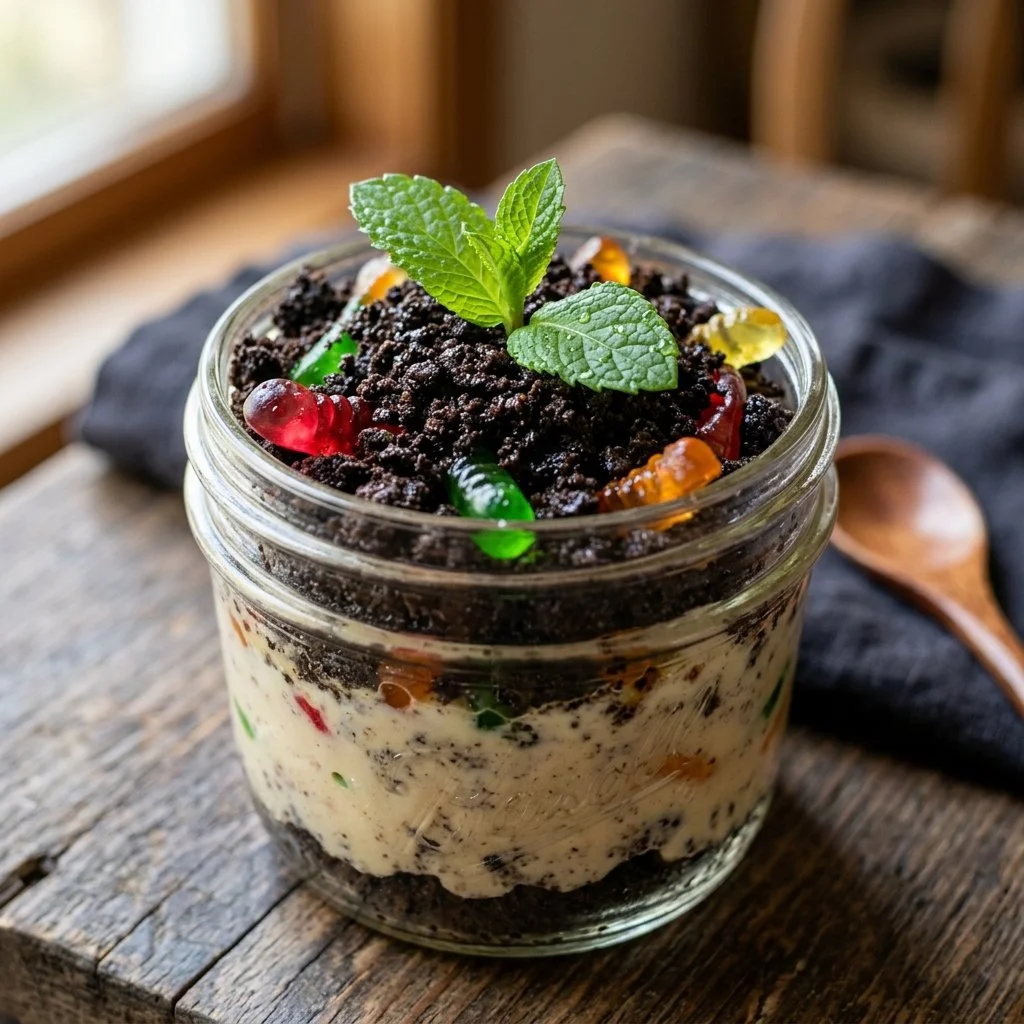
There’s something undeniably nostalgic about dirt pudding. For many of us, it’s a dessert that instantly transports us back to childhood birthdays and school parties — that magical place where sweet meets silly. Its playful appearance, complete with crushed cookie crumbs and gummy worms, brings about giggles and smiles from kids and adults alike. I can vividly remember the first time I made this charming treat with my little siblings; the kitchen was filled with laughter as we crushed the cookies and layered the pudding. What a delight it was to transform simple ingredients into something so whimsically delicious. Today, I want to share this delightful recipe so that you too can create a fun and memorable dessert that’s bound to be the star of any gathering.
Recipe Timing
- Prep Duration: 25 minutes
- Active Cooking: 15 minutes
- Total Duration: 2 hours 25 minutes (includes chill time)
- Portion Size: Serves 8-10
- Complexity: Simple
Nutritional Recipe
- Calories per portion: Approx. 400
- Protein: 6g
- Carbs: 50g
- Fats: 19g
- Fiber: 1g
- Sugars: 29g
- Sodium: 270mg
Why You’ll Love This Dirt Pudding
This dirt pudding isn’t just a treat for the taste buds; it’s a feast for the eyes and a conversation starter! The crunchy, crumbly layers mimic the look of actual dirt, while the creamy chocolate pudding and buttery cookie mixture offer a delightful contrast in textures. Topped with those iconic gummy worms, this dessert is perfect for both kids’ parties and adult gatherings alike. And let’s be honest, who could resist digging into a delicious bowl of “dirt”?
The Complete Cooking Journey
Embarking on this delicious adventure is as easy as pie — or should I say, as easy as dirt pudding? From the initial crushing of the cookies to the final touch of gummy worms, the aroma of chocolate will envelop your kitchen, making this experience not only delightful but aromatic too! Gather your ingredients, roll up your sleeves, and let’s create something magical together.
Ingredients:
- 1 package (12 oz) chocolate sandwich cookies
- 1 package (8 oz) cream cheese, softened
- 1/2 cup butter, softened
- 1 cup powdered sugar
- 2 packages (3.9 oz each) instant chocolate pudding mix
- 4 cups milk
- 1 container (12 oz) whipped topping
- Gummy worms (for garnish)
Method:
Step 1: Crush the Cookies
Crush the chocolate sandwich cookies in a plastic bag until fine crumbs resemble dirt. This step is not only fun but also crucial for the visual appeal of your dessert. You could even channel your inner child and get a little messy!
Step 2: Mix the Creamy Base
In a bowl, beat the cream cheese and butter together until smooth. This creates a rich, creamy foundation for your pudding. Add the powdered sugar and mix until well combined, ensuring a sweet and luscious blend.
Step 3: Whisk the Pudding
In another bowl, whisk together the pudding mix and milk until thickened. Achieve that perfect silky texture, then gently fold in the whipped topping to make it light and fluffy. This is where the magic begins!
Step 4: Combine the Mixtures
Combine the cream cheese mixture with the pudding mixture until fully blended. You want every flavor to mingle, so take your time with this step for the best result.
Step 5: Layer It Up
In a dish, layer the pudding mixture and crushed cookies, starting and ending with the cookie layer. Think of this as your little masterpiece — each layer should be distinct but harmonious!
Step 6: Add the Fun Decorations
Top with gummy worms and additional cookie crumbs. This fun touch adds a playful element and brings the dirt theme to life!
Step 7: Chill and Set
Chill for at least 2 hours before serving. This allows all the flavors to meld together beautifully while also ensuring a perfectly set dessert.
Serving Suggestions & Pairings
Dirt pudding is irresistible on its own, but if you want to elevate the experience, consider pairing it with a rich cup of coffee or a scoop of vanilla ice cream for contrast. It also shines at summer picnics and birthday parties — don’t shy away from those colorful plates and fun utensils to make the experience even more festive!
Storage & Leftovers Guide
If you have leftovers (which is rare but possible!), store them in an airtight container in the fridge. They should last for about 3-4 days. Just give it a good stir before serving again to bring back that luscious texture!
Kitchen Wisdom & Success Tips
- Make sure your cream cheese is at room temperature for easy blending.
- Use a food processor to crush the cookies quickly and efficiently.
- If you prefer a lighter texture, feel free to use low-fat cream cheese and whipped topping.
- Don’t skip the chilling time — it’s key for the texture!
Flavor Variations & Adaptations
Feeling adventurous? Swap out the chocolate cookie for vanilla or even add layers of fresh fruit like strawberries or raspberries for a twist. You could also experiment with different flavored pudding mixes; try lemon or vanilla for a refreshing change!
Reader Questions & Solutions
-
How do I make this gluten-free?
- Simply use gluten-free sandwich cookies for the base!
-
Can I use homemade whipped cream instead?
- Absolutely! Just whip 1 ½ cups of heavy cream with a tablespoon of sugar until peaks form for an equally delicious alternative.
-
What if I don’t have pudding mix?
- You can make a homemade pudding using cornstarch, cocoa powder, sugar, and milk if you’re feeling ambitious!
-
How can I make this dessert dairy-free?
- Substitute the cream cheese with a dairy-free cream cheese alternative and use dairy-free whipped topping and milk.
-
Is it safe to prepare this dessert a day in advance?
- Yes! In fact, making it a day ahead will enhance the flavors even more.
Wrapping Up
Dirt pudding is much more than a dessert; it’s an invitation to create lasting memories, to indulge in sweetness, and to share joy. Whether you’re whipping it up for family night or a lively gathering, this playful treat is sure to capture hearts and delight taste buds. So roll up your sleeves, get ready to crush some cookies, and start layering away! Happy cooking!