
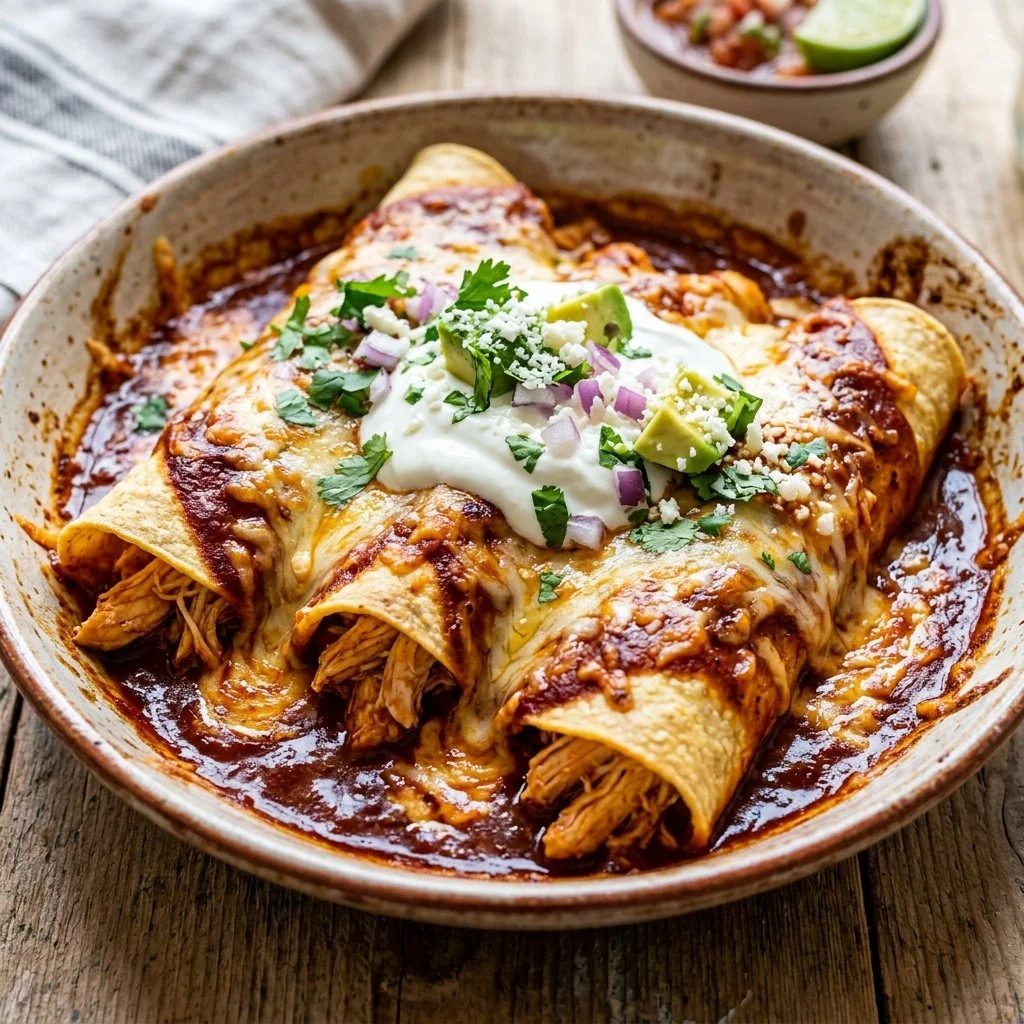
There’s something incredibly comforting about the aroma of warm tortillas filled with tender chicken and melted cheese wafting through your kitchen. The first time I made Chicken Enchiladas, it was a chilly evening, and my family was gathered around the table, excited for a cozy meal. As I pulled that bubbling dish of enchiladas from the oven, their eyes lit up with anticipation. The moment we dug in, it was as if the rich flavors enveloped us in a warm hug, instantly bringing back memories of family gatherings and shared laughter. It’s meals like these that connect us, and the stories that come with them are what turn a simple recipe into a cherished tradition.
Recipe Timing
- Prep Duration: 15 minutes
- Active Cooking: 25 minutes
- Total Duration: 40 minutes
- Portion Size: Serves 4
- Complexity: Simple
Nutritional Recipe
- Calories per portion: Approximately 400
- Protein: 26 grams
- Carbs: 45 grams
- Fats: 15 grams
- Fiber: 8 grams
- Sugars: 4 grams
- Sodium: 590 mg
Why You’ll Love This Chicken Enchiladas
This recipe is not just about the ingredients; it’s about creating memories. The vibrant colors of the salsa and cheese, the satisfying crunch of the tortillas, and the spice from the cumin and chili powder come together to embody the essence of comfort food. Chicken Enchiladas are versatile enough for any night of the week but special enough to serve at gatherings. Plus, they can be made in advance and warmed up, making them a time-saver on busy days.
The Complete Cooking Journey
The journey from ingredients to a delicious plate of Chicken Enchiladas is as rewarding as the destination. Each step, from the mixing of the filling to the final garnish of cilantro, brings a sense of accomplishment and joy. Plus, cooking is made so much easier with a few simple tricks I’ve learned along the way—let’s dive into it!
Ingredients:
- 2 cups cooked chicken, shredded
- 1 cup salsa
- 8 small flour tortillas
- 1 cup shredded cheese (cheddar or Mexican blend)
- 1 can (15 oz) black beans, drained and rinsed
- 1 cup corn (canned or frozen)
- 1 teaspoon cumin
- 1 teaspoon chili powder
- Salt and pepper to taste
- 1/4 cup chopped cilantro (optional)
Method:
Step 1: Preheat the Oven
Start by preheating your oven to 375°F (190°C). This step is crucial, as it ensures that your enchiladas will bake evenly and come out perfectly melted and golden on top.
Step 2: Mix the Filling
In a mixing bowl, combine the shredded chicken, salsa, black beans, corn, cumin, chili powder, salt, and pepper. This vibrant mixture is what creates the heart of your enchiladas, so mix it well to let those flavors blend beautifully.
Step 3: Fill the Tortillas
Spoon some of the chicken mixture into each tortilla, rolling them up tightly but gently. As you place them seam-side down in a baking dish, imagine the delightful burst of flavors that awaits you in each bite.
Step 4: Add Sauce and Cheese
Once all the tortillas are nestled in the dish, pour the remaining salsa over the top. Don’t hold back on the cheese; generously sprinkle it over the enchiladas. This will create that irresistible cheesy layer that you can’t wait to dig into!
Step 5: Bake to Perfection
Slide your baking dish into the preheated oven. Bake for 20-25 minutes or until heated through and the cheese has melted into a bubbly golden crust. The aroma will be absolutely tantalizing!
Step 6: Garnish and Serve
Finally, remove the enchiladas from the oven and, if you desire, garnish with fresh chopped cilantro. Serve them warm and enjoy the delightful flavors and textures that come with each bite.
Serving Suggestions & Pairings
These enchiladas are fantastic all on their own, but why not elevate your meal? Serve them with a side of avocado slices, a refreshing green salad, or a bowl of zesty Mexican rice to soak up any extra sauce. You could even pair them with a chilled beverage—how about a classic margarita or a tangy limeade?
Storage & Leftovers Guide
If you’re lucky enough to have leftovers (they make great next-day lunches!), you can store them in an airtight container in the fridge for up to 3 days. To reheat, simply pop them in the oven again or use a microwave, adding a splash of water to keep them moist.
Kitchen Wisdom & Success Tips
Here are a few tips to enhance your cooking experience:
- Make Ahead: Prep your chicken enchiladas a day or two in advance. Just cover tightly and store in the fridge before baking.
- Customize the Fillings: Feel free to add bell peppers, onions, or other veggies to the filling for extra flavor and nutrition.
- Cheese Choices: Try different types of cheese for unique flavors. Monterey Jack or pepper jack can add a delightful kick!
Flavor Variations & Adaptations
Want to mix it up? Try using shredded beef, pork, or even roasted veggies if you’re going vegetarian! Swap out your salsa for a spicy verde sauce or a creamy chipotle sauce for a different flavor profile.
Reader Questions & Solutions
-
Can I use raw chicken?
Yes! You can cook raw chicken first. Just boil, bake, or slow cook until it’s fully cooked before shredding. -
What if I don’t have black beans?
No problem! You can substitute kidney beans, pinto beans, or even lentils for a different twist. -
Are there gluten-free options for tortillas?
Absolutely! Look for gluten-free corn tortillas, which work beautifully in this recipe. -
How spicy are these enchiladas?
They are mildly spicy depending on the salsa you use. For less heat, choose a mild salsa and adjust the chili powder to taste. -
What should I do if they seem dry after baking?
If they seem a bit dry, try adding a splash of broth to the bottom of the baking dish before reheating. This will add moisture.
Wrapping Up
As you gather around the table with your loved ones, feel the warmth of these Chicken Enchiladas bringing everyone together. The beauty of cooking is not just in the meals we prepare but in the connections we forge. Dive into this delightful recipe and let it inspire your kitchen, ignite joy, and create lasting memories. Happy cooking!