
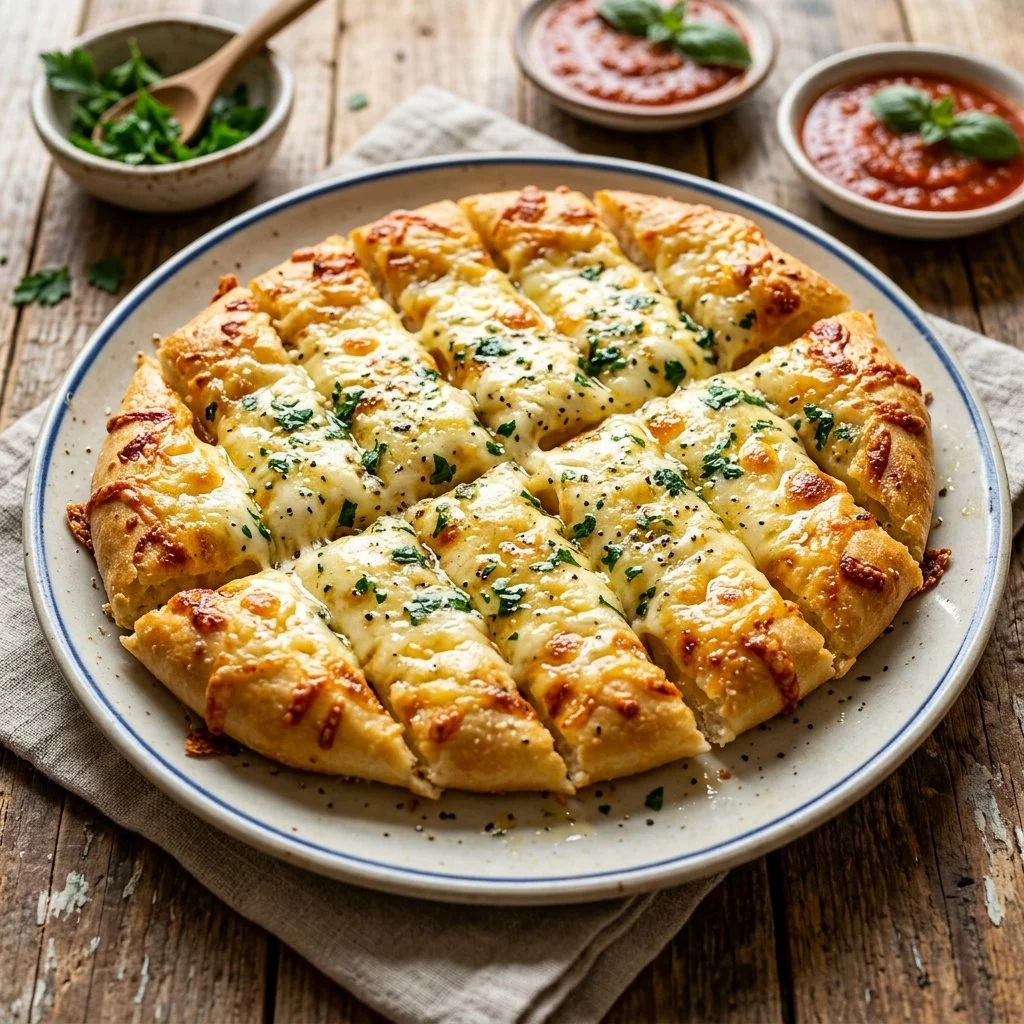
There’s something undeniably comforting about the aroma of garlic bread wafting through the kitchen, isn’t there? For me, cheesy garlic breadsticks evoke beautiful memories of family gatherings, where laughter filled the air, and food was shared in abundance. I still remember the evenings spent around the dinner table, a warm plate of breadsticks at the center, pulling apart the cheesy goodness while twinkling lights hung overhead. Every bite was a delicious nod to the love that went into cooking and sharing a meal together. Today, I want to share with you how to whip up your own batch of Cheesy Garlic Breadsticks that are not just simple to make but taste like a slice of homemade heaven.
Recipe Timing
- Prep Duration: 10 minutes
- Active Cooking: 15 minutes
- Total Duration: 25 minutes
- Portion Size: Serves 4-6
- Complexity: Simple
Nutritional Recipe
- Calories per portion: Approximately 220 calories
- Protein: 8 grams
- Carbs: 27 grams
- Fats: 10 grams
- Fiber: 1 gram
- Sugars: 1 gram
- Sodium: 350 mg
Why You’ll Love This Cheesy Garlic Breadsticks
These Cheesy Garlic Breadsticks are the perfect companion for your favorite marinara or a hearty soup. With a golden-brown crust and a melt-in-your-mouth cheesy center, they give you that warm, fuzzy feeling you’ve been craving. Plus, they come together with just a handful of ingredients, making them an easy go-to for a quick snack, party appetizer, or even a delightful addition to pizza night. You’ll love how they disappear within minutes at any gathering!
The Complete Cooking Journey
Cooking these cheesy delights is not just about the end product but also the experience. As you roll out the dough, the sound of it stretching and the rich bouquet of garlic sizzling in butter will have you eagerly anticipating the first bite. Each step is quick, easy, and filled with promise—the promise of cheesy, garlicky happiness.
Ingredients:
- 1 package refrigerated pizza dough
- 4 tablespoons unsalted butter, melted
- 3 cloves garlic, minced
- 1 teaspoon dried oregano
- 1 teaspoon dried parsley
- 1 cup shredded mozzarella cheese
- 1/4 cup grated Parmesan cheese
- Salt to taste
Method:
Step 1: Preheat the Oven
Start by preheating your oven to 425°F (220°C). This ensures that your cheese gets melt-in-your-mouth bubbly and your edges turn perfectly golden.
Step 2: Roll Out the Pizza Dough
On a lightly floured surface, roll out the pizza dough to your desired thickness, whether you like them chewy or thin and crispy. Once rolled out, carefully transfer it to a baking sheet, giving it a little stretch to fit.
Step 3: Prepare the Irresistible Garlic Butter
In a small bowl, combine the melted butter, minced garlic, oregano, and parsley, stirring until well-mixed. This fragrant mixture is about to transform your dough!
Step 4: Brush the Dough
Using a pastry brush (or even the back of a spoon), generously brush this garlicky goodness over the rolled-out dough, spreading the flavor evenly to ensure each bite is seasoned to perfection.
Step 5: Add the Cheesy Goodness
Sprinkle the mozzarella and Parmesan cheese evenly over the dough. You can never have too much cheese, so feel free to add a little extra if you wish!
Step 6: Bake to Golden Perfection
Slide your baking sheet into the preheated oven and let it bake for about 12-15 minutes, or until the edges are golden brown and the cheese is gloriously melted.
Step 7: Slice and Serve
Once you pull your cheesy masterpiece from the oven, let it cool for just a minute before slicing it into delicious breadsticks. Serve them warm for the best experience.
Serving Suggestions & Pairings
These breadsticks shine as a standalone snack or side. Pair them with a zesty marinara or garlic dipping sauce for an extra flavor boost, or serve them alongside a fresh garden salad for a well-rounded meal. They’re also perfect with soups like tomato basil or creamy chicken noodle.
Storage & Leftovers Guide
Leftover breadsticks can be stored in an airtight container at room temperature for up to 2 days. For longer storage, wrap them securely and place them in the refrigerator for up to 5 days. To reheat, pop them in a preheated oven at 350°F (175°C) for about 5-10 minutes until warmed through.
Kitchen Wisdom & Success Tips
- Achieving the Perfect Dough: Make sure your dough is at room temperature before rolling out for easier handling.
- Customize Your Garlic Butter: Experiment with additional herbs like thyme or basil for different flavor profiles.
- Goal of Golden Brown: Keep an eye on your breadsticks as they bake; the perfect balance is golden edges and melted cheese.
Flavor Variations & Adaptations
- Herbed Breadsticks: Swap the oregano and parsley for fresh herbs like basil or rosemary.
- Cheesy Sausage Breadsticks: Add crumbled Italian sausage for a heartier option.
- Spicy Kick: Introduce a pinch of red pepper flakes or a drizzle of hot sauce for those who crave heat.
Reader Questions & Solutions
-
Can I use homemade pizza dough?
Absolutely! Homemade dough works wonderfully—just roll it out to your desired thickness. -
What can I substitute for butter?
Olive oil is a great alternative if you’re looking for a vegan option. -
Can I freeze the dough?
Yes! You can freeze the unbaked breadsticks. Simply wrap them tightly and bake from frozen, adding a few extra minutes to the baking time. -
How can I make these gluten-free?
Use a gluten-free pizza dough substitute, and ensure all toppings are gluten-free. -
What if I don’t like garlic?
You can omit the garlic and instead sprinkle a bit of garlic powder mixed with your herbs for a more subtle flavor, or even try caramelized onion for a sweeter alternative.
Wrapping Up
I hope that these Cheesy Garlic Breadsticks not only find a place at your dinner table but also ignite warm memories and joy as they do in mine. They’re a testament to simple cooking, showing us that the best moments are often enjoyed with friends, family, and delicious food in hand. So roll up your sleeves, savor the experience, and enjoy every cheesy, garlicky bite! Happy cooking!