
There are some desserts that feel like a whisper of summer, even in the dead of winter. For me, that dessert is Lemon Icebox Pie. I still remember the first time I tasted it—a bright, cool slice served on a sweltering July afternoon at my grandmother’s farmhouse table. The filling was so silky and tart it made my eyes water, but the sweet, buttery crust brought everything back into perfect balance. No oven heat required, no complicated custard—just a handful of ingredients and a little patience. This pie isn’t just a recipe; it’s a memory of lazy afternoons, clinking ice in glasses, and the kind of sweet relief only a chilled citrus dessert can bring. Today, I’m sharing that very recipe with you, and I promise, it will become a staple in your kitchen too.
Recipe Timing
- Prep Duration: 20 minutes
- Active Cooking: 10 minutes (for the crust, if baking)
- Total Duration: 6 hours 30 minutes (includes 6 hours of chilling)
- Portion Size: 8 slices
- Complexity: Simple
Nutritional Recipe
- Calories per portion: 410
- Protein: 5g
- Carbs: 48g
- Fats: 24g
- Fiber: 1g
- Sugars: 37g
- Sodium: 310mg
Note: Nutritional values are estimates and can vary based on specific brands of ingredients used.
Why You’ll Love This Lemon Icebox Pie
This pie is the definition of effortless elegance. First, it requires zero baking for the filling—just a quick whisk and pour. The filling sets into a velvety, cloud-like texture that melts on your tongue, with a sharp lemon tang that wakes up your taste buds. It’s a no-fuss dessert that looks like you spent hours in the kitchen, but really, you only need about 20 minutes of active work. Plus, it’s the make-ahead hero of summer parties: just assemble it, pop it in the fridge, and forget about it until dessert time. The contrast between the creamy, tart filling and the crunchy, buttery graham cracker crust is nothing short of addictive.
The Complete Cooking Journey
Making this pie is a two-part journey, and honestly, the hardest part is waiting for it to set. You start by building the crust—pressing buttery crumbs into a pie plate for that perfect sandy, sweet base. Then comes the real magic: whipping together sweetened condensed milk, fresh lemon juice, egg yolks, and a touch of zest. You fold in a fluffy cloud of whipped cream, which lightens the whole mixture into a mousse-like dream. Once poured into the crust, the pie rests in the fridge, slowly firming up into a sliceable, spoonable masterpiece. The final step? A generous dollop of whipped cream and a sprinkle of zest, because lemon desserts deserve a beautiful crown.
Ingredients:
- For the Crust:
- 1 ½ cups graham cracker crumbs (about 12 full sheets)
- 6 tablespoons unsalted butter, melted
- 3 tablespoons granulated sugar
- For the Filling:
- 1 (14-ounce) can sweetened condensed milk
- ½ cup fresh lemon juice (from about 3–4 large lemons)
- 1 tablespoon lemon zest (plus more for garnish)
- 3 large egg yolks
- 1 cup heavy whipping cream, cold
- 2 tablespoons powdered sugar
- For the Topping:
- ½ cup heavy whipping cream
- 1 tablespoon powdered sugar
- Extra lemon zest and thin lemon slices for garnish
Method:
You’ll notice this recipe comes together in just a few easy steps. The key is patience—the fridge does all the heavy lifting here.
Step 1: Prepare the Crust
In a medium bowl, mix the graham cracker crumbs, melted butter, and granulated sugar until the mixture feels like wet sand. Press the mixture firmly and evenly into the bottom and up the sides of a 9-inch pie plate. Use the flat bottom of a measuring cup to really pack it down—this prevents crumbling later. For a no-bake crust, place it in the freezer for 15 minutes while you make the filling. If you prefer a toasted flavor, bake the crust at 350°F for 8–10 minutes, then let it cool completely.
Step 2: Mix the Lemon Base
In a large bowl, whisk together the sweetened condensed milk, fresh lemon juice, lemon zest, and egg yolks. Whisk until smooth and slightly thickened—about 2 minutes. The mixture will go from thin to a lovely, creamy consistency as the acid from the lemon works with the milk. Set it aside for a moment.
Step 3: Whip the Cream
In a separate chilled bowl, pour the cold heavy whipping cream. Using an electric hand mixer or a stand mixer fitted with the whisk attachment, beat the cream on medium-high speed until soft peaks form. Add the powdered sugar and continue beating until stiff peaks form—be careful not to over-whip into butter. You want the cream to hold its shape but still feel silky.
Step 4: Fold Everything Together
Take about one-third of the whipped cream and gently fold it into the lemon base with a rubber spatula. This lightens the mixture. Then, carefully fold in the remaining whipped cream in two additions. Use a gentle, sweeping motion to keep the air in the cream—this is what gives the pie its dreamy, mousse-like texture. Stop folding as soon as you see no white streaks.
Step 5: Assemble and Chill
Pour the filling into the prepared crust. Use a spatula to spread it evenly and smooth the top. Cover the pie loosely with plastic wrap, making sure the wrap doesn’t touch the surface of the filling. Refrigerate for a minimum of 6 hours, but overnight is even better. The filling needs this time to set into that firm, sliceable, yet creamy texture.
Step 6: Prepare the Topping
Just before serving, whip the remaining ½ cup of heavy cream with 1 tablespoon of powdered sugar until stiff peaks form. You can spoon this on top of the chilled pie or pipe it into rosettes for a pretty presentation.
Step 7: Garnish and Serve
Use a sharp, thin-bladed knife to slice the pie, wiping the blade clean between cuts for neat pieces. Top each slice with a generous dollop of whipped cream, a sprinkle of fresh lemon zest, and a thin lemon slice if you’re feeling fancy. Serve immediately—cold and bright.
Serving Suggestions & Pairings
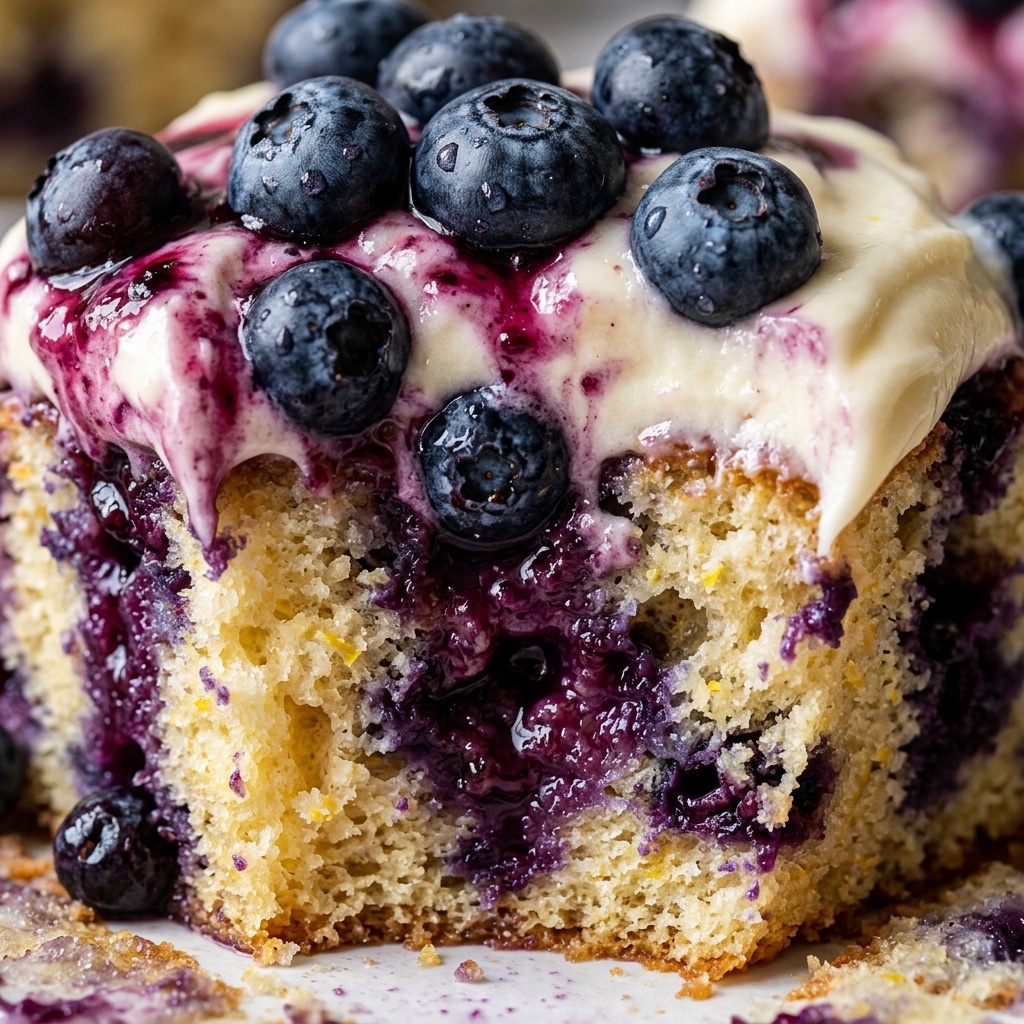
This pie is a star on its own, but it loves a few simple companions. Serve it alongside a fresh berry salad for a pop of color and sweetness, or with a handful of raspberries scattered on the plate for a tart contrast. For brunch, a slice of Lemon Icebox Pie pairs beautifully with a cup of hot black tea or a frosty glass of iced tea with mint. If you’re feeling indulgent, drizzle a little blueberry or raspberry sauce over the top—the fruity sweetness complements the lemon perfectly.
Storage & Leftovers Guide
Leftover pie is a gift—just cover the pie plate tightly with plastic wrap or transfer individual slices to an airtight container. The pie will keep well in the refrigerator for up to 4 days. The texture stays creamy, though the crust may soften slightly over time. I don’t recommend freezing this pie, as the filling can become icy and lose its velvety texture. If you must freeze it, do so without the whipped topping, and thaw it overnight in the fridge before serving.
Kitchen Wisdom & Success Tips
- Use fresh lemons. Bottled lemon juice has a flat, bitter flavor that can’t match the brightness of fresh-squeezed. Roll your lemons on the counter before juicing to get every last drop.
- Don’t skip the zest. The oils in the lemon peel add a pure, floral lemon aroma that bottled juice just can’t replicate.
- Chill your bowl and beaters. Cold cream whips faster and holds its shape better, leading to a lighter, airier filling.
- Be patient with setting time. Six hours is the bare minimum; eight to twelve hours yields the cleanest slices. Try to make this pie the night before you plan to serve it.
- Pack that crust firmly. A loose crust will crumble when you cut the pie. Use the bottom of a glass or a measuring cup to press it down with authority.
Flavor Variations & Adaptations
- Key Lime Icebox Pie: Swap the lemon juice and zest for equal amounts of key lime juice and zest. The flavor is slightly softer and more floral.
- Meyer Lemon Pie: Use Meyer lemons for a sweeter, less acidic filling that feels almost honeyed.
- Gluten-Free Version: Use gluten-free graham crackers or crushed gluten-free shortbread cookies for the crust.
- Vegan Adaptation: Substitute the sweetened condensed milk with a can of full-fat coconut condensed milk, use a vegan butter stick in the crust, and swap the heavy cream for chilled coconut cream (the thick part from a can of full-fat coconut milk). Use a cornstarch slurry (1 tablespoon cornstarch + 2 tablespoons water) to replace the egg yolks, whisking it in with the lemon juice.
- Extra Zesty: Add a teaspoon of lemon extract to the filling for an intense, sunny punch.
Reader Questions & Solutions
Q: My filling turned out runny and wouldn’t set. What went wrong?
A: This usually happens if the pie didn’t chill long enough (try a minimum of 8 hours), or if the whipping cream wasn’t whipped to stiff peaks. Softly whipped cream doesn’t provide enough structure. Next time, beat the cream until it holds a firm peak that doesn’t droop.
Q: Can I use bottled lemon juice in a pinch?
A: You can, but I really don’t recommend it. Bottled juice contains preservatives and lacks the bright, natural acidity of fresh lemons. The flavor will taste flat and slightly metallic. Fresh is truly worth it here.
Q: My crust crumbles when I cut the pie. How do I fix this?
A: A crumbly crust usually means you didn’t pack the crumbs firmly enough, or you didn’t add enough melted butter. Make sure your crumb mixture feels like wet sand and holds together when you squeeze a handful. Press it into the pan with the flat bottom of a measuring cup for a solid, compact base.
Q: Can I make this pie in a different pan, like a springform or tart pan?
A: Absolutely. A 9-inch tart pan with a removable bottom works beautifully and makes for a stunning presentation. A 9-inch springform pan also works, but you may need to increase the crust ingredients by about 25% to cover the taller sides.
Q: Why is my filling grainy instead of smooth?
A: Grainy filling is often a sign of overcooked egg yolks if you heated the mixture. For this no-cook version, it’s usually caused by over-whipping the cream until it starts to separate. Whip just to stiff peaks, and fold gently. Another culprit is using low-quality sweetened condensed milk—some brands can have a grainy texture.
Q: Can I reduce the sugar?
A: The sweetened condensed milk is the base of the filling and provides both sweetness and structure. I don’t recommend reducing it, as it will affect the set. You can, however, use a less sweet whipped topping or skip the added powdered sugar in the cream.
Wrapping Up
That first bite of this Lemon Icebox Pie—cold, creamy, and alive with citrus—never gets old. It’s a dessert that feels like a secret, because who knew something so simple could be so impressive? Whether you’re serving it at a backyard barbecue, a holiday brunch, or just because it’s Tuesday and you deserve something beautiful, this pie delivers every single time. I hope you make it, share it, and let it become one of your favorite summer stories too. Happy cooking, friends—and don’t forget to save yourself the last slice.

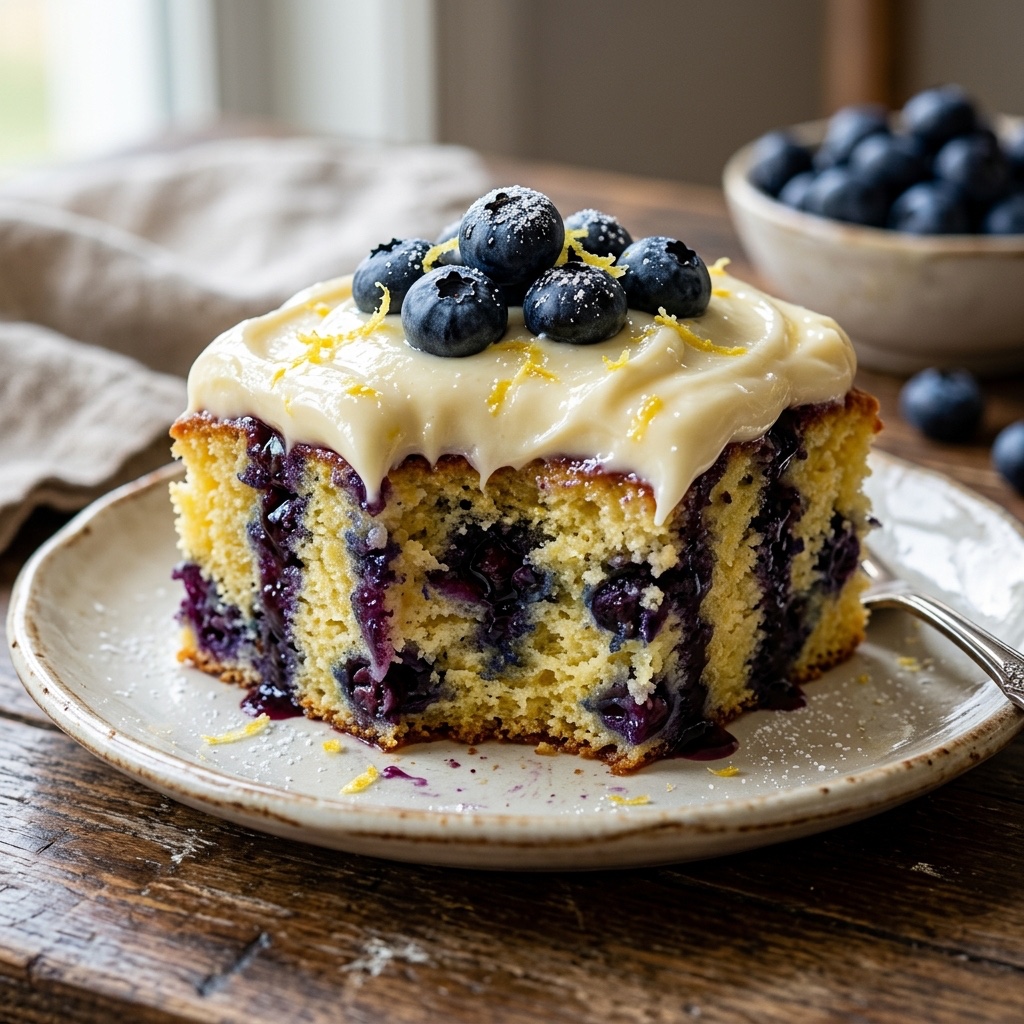
Blueberry Lemon Poke Cake

A refreshing and elegant dessert that doesn’t require baking, combining the simplicity of a no-bake crust with a creamy, tart filling that’s perfect for summer gatherings. The pie is a true memory of lazy afternoon desserts, clinking ice in glasses, and the sweet relief only a chilled citrus dessert can bring.
- Prep Time: 20 minutes
- Cook Time: 10 minutes (optional)
- Total Time: 6 hours 30 minutes
- Yield: 8 slices 1x
- Category: Frozen Desserts
- Cuisine: American
- Diet: No specific diet mentioned, but it is rich in protein and fat.
Ingredients
1 1/2 cups graham cracker crumbs (about 12 full sheets)
6 tablespoons unsalted butter, melted
3 tablespoons granulated sugar
1 (14-ounce) can sweetened condensed milk
1/2 cup fresh lemon juice (from about 3–4 large lemons)
1 tablespoon lemon zest (plus more for garnish)
3 large egg yolks
1 cup heavy whipping cream, cold
2 tablespoons powdered sugar
1/2 cup heavy whipping cream
1 tablespoon powdered sugar
Instructions
In a medium bowl, mix the graham cracker crumbs, melted butter, and granulated sugar until the mixture feels like wet sand. Press the mixture firmly and evenly into the bottom and up the sides of a 9-inch pie plate. Use the flat bottom of a measuring cup to really pack it down. For a no-bake crust, place it in the freezer for 15 minutes while you make the filling. If you prefer a toasted flavor, bake the crust at 350°F for 8-10 minutes, then let it cool completely.
In a large bowl, whisk together the sweetened condensed milk, fresh lemon juice, egg yolks, and lemon zest. Slowly pour in the whipped cream, mixing until fully incorporated. Pour the mixture into the crust and refrigerate for at least 6 hours or until set.
Garnish with additional lemon zest and thinly sliced lemons before serving.
Nutrition
- Calories: 410
- Sugar: 37
- Sodium: 310mg
- Fat: 24
- Carbohydrates: 48
- Fiber: 1
- Protein: 5
- Recipe Timing
- Nutritional Recipe
- Why You’ll Love This Lemon Icebox Pie
- The Complete Cooking Journey
- Ingredients:
- Method:
- Step 1: Prepare the Crust
- Step 2: Mix the Lemon Base
- Step 3: Whip the Cream
- Step 4: Fold Everything Together
- Step 5: Assemble and Chill
- Step 6: Prepare the Topping
- Step 7: Garnish and Serve
- Serving Suggestions & Pairings
- Storage & Leftovers Guide
- Kitchen Wisdom & Success Tips
- Flavor Variations & Adaptations
- Reader Questions & Solutions
- Wrapping Up