
Keto Avocado Egg Cups
There are some mornings that call for something extra special. You know the ones—where even before your feet hit the floor, you’re craving a breakfast that feels indulgent, tastes incredible, and somehow still fits into your healthy eating plan. That’s exactly where these Keto Avocado Egg Cups come in.
I discovered this recipe during a particularly chaotic week when I needed something quick that wouldn’t derail my low-carb goals. The first time I pulled a perfectly baked avocado half out of the oven, with its golden-edged egg nestled right in the center, I knew I had stumbled onto something magical. The creamy avocado softens just enough in the heat, while the egg firms up into a tender, luscious bite. A sprinkle of cheese on top melts into a crispy little crown. It’s the kind of breakfast that makes you slow down and actually savor your morning.
Recipe Timing
- Prep Duration: 5 minutes
- Active Cooking: 12-15 minutes
- Total Duration: 20 minutes
- Portion Size: 2 servings (1 avocado half per serving)
- Complexity: Simple
Nutritional Recipe
- Calories per portion: 290
- Protein: 14g
- Carbs: 6g
- Fats: 24g
- Fiber: 6g
- Sugars: 1g
- Sodium: 320mg
Why You’ll Love This Keto Avocado Egg Cups
Let me tell you why this recipe has earned a permanent spot in my breakfast rotation. First, it’s practically effortless. We’re talking five minutes of hands-on prep and then your oven does all the heavy lifting. Second, the flavor combination is simply unbeatable—buttery avocado meets rich, runny egg yolk, all topped with melty cheese and a pop of freshness from chives. Third, it’s perfectly portioned for anyone watching their macros. Each serving delivers healthy fats that keep you satisfied until lunch, with minimal carbs and plenty of protein.
But here’s what truly wins me over: these avocado egg cups feel like a restaurant-quality breakfast that you made in your own kitchen. They’re impressive enough to serve to guests but simple enough for a Tuesday morning when you’re running late. And honestly, anything that makes weekday mornings feel a little more special is worth celebrating.
The Complete Cooking Journey
Making these avocado egg cups is like watching a beautiful transformation happen right before your eyes. You start with a perfectly ripe avocado, cut it in half, and remove the pit. Then comes the important part—scooping out just a bit of the flesh to create a wider well for the egg. This little step makes all the difference between an egg that stays neatly inside and one that spills over the edges.
Once you crack an egg into each avocado half, you’ll season them simply with salt and pepper. A sprinkle of shredded cheddar or mozzarella creates that irresistible golden crust as it bakes. Into the oven they go for about 12 to 15 minutes, depending on how you like your eggs. The aroma that fills your kitchen is pure breakfast heaven.
When they come out of the oven, the avocado is warm and creamy, the egg is perfectly cooked, and the cheese is bubbly and browned. A final garnish of fresh chives adds a touch of color and a mild oniony bite that ties everything together beautifully.
Ingredients:
Here’s everything you’ll need to make these Keto Avocado Egg Cups:
- 1 large ripe avocado
- 2 large eggs
- 2 tablespoons shredded cheddar cheese (or your favorite keto-friendly cheese)
- Salt and black pepper to taste
- 1 tablespoon fresh chives, finely chopped (for garnish)
- Optional: red pepper flakes for a hint of heat
- Optional: crumbled cooked bacon for extra flavor
Method:
Step 1: Preheating the Oven and Preparing the Baking Dish
Preheat your oven to 400°F (200°C). While it heats up, lightly grease a small baking dish or line it with parchment paper. You’ll place the avocado halves directly in the dish, and the grease will prevent them from sticking.
Step 2: Halving and Pitting the Avocado
Carefully cut the avocado in half lengthwise around the pit. Twist the two halves to separate them. Remove the pit by gently tapping it with your knife blade and twisting it out. Be careful with this step—avocados can be slippery!
Step 3: Scooping Out the Avocado Flesh for the Egg Well
Using a spoon, scoop out about one tablespoon of flesh from the center of each avocado half. This creates a slightly larger cavity for the egg. Don’t discard the scooped-out avocado—you can eat it as a snack or mash it into a quick guacamole.
Step 4: Placing the Avocados in the Baking Dish
Nestle each avocado half into your prepared baking dish. If they wobble, you can trim a tiny slice off the bottom to help them sit flat. This keeps the eggs from spilling out during baking.
Step 5: Cracking the Eggs into the Avocados
Crack one egg into each avocado half. If your egg white starts to overflow, just spoon off a bit of the excess. Try to keep the yolk centered in the avocado.
Step 6: Seasoning the Avocado Egg Cups
Sprinkle each avocado egg cup with a pinch of salt and a few cracks of black pepper. This is also the time to add any additional seasonings you love, like garlic powder or paprika.
Step 7: Topping with Cheese and Baking
Sprinkle one tablespoon of shredded cheese over each avocado egg cup. Place the baking dish in the preheated oven and bake for 12 to 15 minutes. For runny yolks, check at 12 minutes. For firmer yolks, let them bake closer to 15 minutes.
Step 8: Garnishing and Serving
Remove the dish from the oven carefully. Let the avocado egg cups cool for about 2 minutes. Sprinkle fresh chives on top and add red pepper flakes if you like a little heat. Serve immediately while the avocado is warm and the egg is perfectly cooked.
Serving Suggestions & Pairings
These Keto Avocado Egg Cups are wonderful on their own, but they also pair beautifully with a few simple sides. Try serving them alongside a small green salad tossed with lemon vinaigrette for a light lunch. For breakfast, a side of crispy bacon or sausage links turns this into a hearty morning meal. If you’re hosting brunch, arrange the avocado egg cups on a platter with fresh berries and a pot of hot coffee. They also work wonderfully as part of a low-carb breakfast board with sliced cucumbers, cherry tomatoes, and a dollop of sour cream.
Storage & Leftovers Guide
Truth be told, avocado egg cups are best enjoyed straight from the oven. Avocado doesn’t reheat particularly well because it can turn bitter and mushy. However, if you have leftovers, you can store them in an airtight container in the refrigerator for up to one day. To reheat, place them in a 350°F oven for about 5 minutes, just until warmed through. Avoid using the microwave, as it will make the avocado texture unpleasant. For meal prep, I recommend preparing the avocado halves and whisking the eggs separately, then assembling and baking fresh each morning.
Kitchen Wisdom & Success Tips
Let me share a few things I’ve learned from making these countless times. First, choose avocados that are ripe but still firm. Overly soft avocados will turn mushy during baking and won’t hold their shape. To check ripeness, gently press the stem end—it should yield slightly but not feel squishy.
Second, don’t skip the step of scooping out extra avocado flesh. A standard avocado pit leaves a small cavity, and your egg white will likely overflow without that extra space. Removing about a tablespoon of flesh gives the egg room to cook neatly inside.
Third, if your avocado halves wobble in the dish, slice a thin piece off the rounded bottom to create a flat surface. This simple trick prevents egg spillage and makes the final dish look more polished.
Finally, watch the eggs carefully during the last few minutes of baking. Oven temperatures vary, and you want to catch them at the perfect doneness for your preference.
Flavor Variations & Adaptations
The beauty of this recipe is how easily you can customize it. Here are some of my favorite variations:
Bacon Lover’s Version: Sprinkle crumbled cooked bacon over the cheese before baking. The smoky saltiness pairs perfectly with avocado.
Mediterranean Twist: Top with crumbled feta cheese, a pinch of dried oregano, and diced cherry tomatoes before baking.
Spicy Southwest Style: Add a sprinkle of cumin and chili powder to the seasoning, then top with shredded Monterey Jack cheese and fresh cilantro after baking.
Herb Garden Delight: Use fresh thyme or rosemary instead of chives. These earthy herbs complement the avocado beautifully.
Dairy-Free Option: Simply omit the cheese and add a drizzle of olive oil and a squeeze of lemon juice after baking.
Egg White Version: For lower calories, use two egg whites instead of one whole egg in each avocado cup.
Reader Questions & Solutions
Q: My egg white spilled over the avocado and made a mess in the pan. What went wrong?
A: This happens when the avocado cavity isn’t large enough. Make sure you scoop out at least one tablespoon of flesh from each half. You can also crack the egg into a small bowl first, then spoon just the yolk and some white into the avocado to control the amount.
Q: The avocado came out bitter after baking. How do I prevent this?
A: Bitterness usually means the avocado was over-ripe or baked too long. Start checking your eggs at the 12-minute mark and remove them as soon as the whites are set. Also, make sure your avocado is perfectly ripe but not soft or brown inside.
Q: Can I make these in an air fryer instead of an oven?
A: Absolutely! Preheat your air fryer to 380°F (190°C). Place the filled avocado halves in the air fryer basket and cook for 8 to 10 minutes. Check at 8 minutes for runny yolks. The air fryer gives you a slightly crisper cheese topping.
Q: My avocado halves keep tipping over. How can I keep them stable?
A: Trim a thin slice off the rounded bottom of each avocado half to create a flat surface. If you’ve already cut them, you can nestle them in a muffin tin or use crumpled foil around them in the baking dish to keep them upright.
Q: Can I use different types of cheese?
A: Definitely! Cheddar and mozzarella work beautifully, but you can also try Swiss, provolone, pepper jack for heat, or goat cheese for tang. Harder cheeses like Parmesan won’t melt as smoothly but add a nice crispy top.
Q: How do I know when the eggs are perfectly done?
A: The egg whites should be fully set and opaque, while the yolk should still jiggle slightly when you gently shake the pan. If you prefer a firmer yolk, bake an additional 2 to 3 minutes. The cheese should be melted and lightly browned.
Wrapping Up
These Keto Avocado Egg Cups have become one of those recipes that I turn to again and again, and I have a feeling they’ll earn a special place in your kitchen too. There’s something deeply satisfying about creating a breakfast that feels both nourishing and indulgent, that fits your lifestyle goals while still tasting like a treat.
I hope you give them a try this week, maybe on a morning when you need a little extra love and warmth. Because that’s what good food is really about, isn’t it? Taking care of ourselves and the people we love, one beautiful, delicious bite at a time.
Happy cooking, friends!
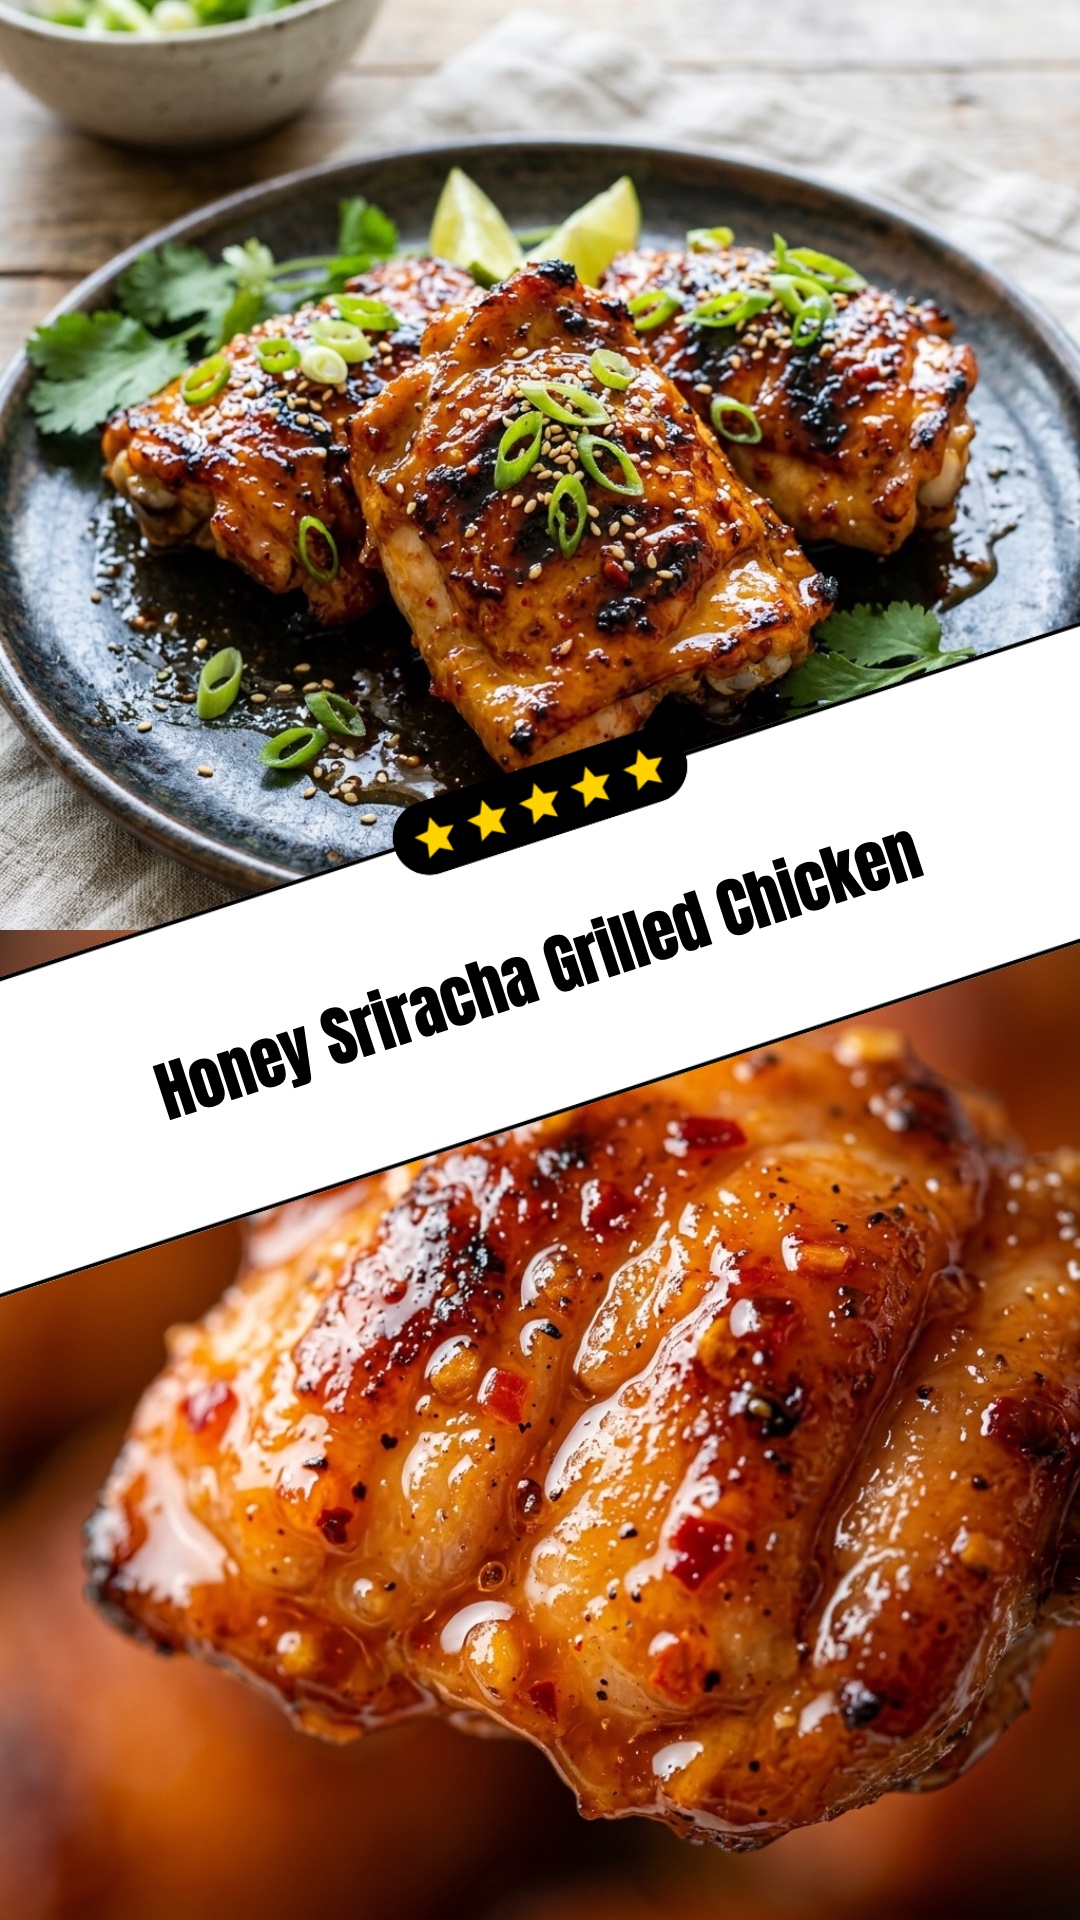
Honey Sriracha Grilled Chicken

- Prep Time: 5 minutes
- Cook Time: 12-15 minutes
- Total Time: 20 minutes
- Yield: 2 servings 1x
Ingredients
Here’s everything you’ll need to make these Keto Avocado Egg Cups:
1 large ripe avocado
2 large eggs
2 tablespoons shredded cheddar cheese (or your favorite keto-friendly cheese)
Salt and black pepper to taste
1 tablespoon fresh chives, finely chopped (for garnish)
Optional: red pepper flakes for a hint of heat
Optional: crumbled cooked bacon for extra flavor
Instructions
Step 1: Preheating the Oven and Preparing the Baking Dish Preheat your oven to 400°F (200°C). While it heats up, lightly grease a small baking dish or line it with parchment paper. You’ll place the avocado halves directly in the dish, and the grease will prevent them from sticking.
Step 2: Halving and Pitting the Avocado Carefully cut the avocado in half lengthwise around the pit. Twist the two halves to separate them. Remove the pit by gently tapping it with your knife blade and twisting it out. Be careful with this step—avocados can be slippery!
Step 3: Scooping Out the Avocado Flesh for the Egg Well Using a spoon, scoop out about one tablespoon of flesh from the center of each avocado half. This creates a slightly larger cavity for the egg. Don’t discard the scooped-out avocado—you can eat it as a snack or mash it into a quick guacamole.
Step 4: Placing the Avocados in the Baking Dish Nestle each avocado half into your prepared baking dish. If they wobble, you can trim a tiny slice off the bottom to help them sit flat. This keeps the eggs from spilling out during baking.
Step 5: Cracking the Eggs into the Avocados Crack one egg into each avocado half. If your egg white starts to overflow, just spoon off a bit of the excess. Try to keep the yolk centered in the avocado.
Step 6: Seasoning the Avocado Egg Cups Sprinkle each avocado egg cup with a pinch of salt and a few cracks of black pepper. This is also the time to add any additional seasonings you love, like garlic powder or paprika.
Step 7: Topping with Cheese and Baking Sprinkle one tablespoon of shredded cheese over each avocado egg cup. Place the baking dish in the preheated oven and bake for 12 to 15 minutes. For runny yolks, check at 12 minutes. For firmer yolks, let them bake closer to 15 minutes.
Step 8: Garnishing and Serving Remove the dish from the oven carefully. Let the avocado egg cups cool for about 2 minutes. Sprinkle fresh chives on top and add red pepper flakes if you like a little heat. Serve immediately while the avocado is warm and the egg is perfectly cooked.
Nutrition
- Calories: 290
- Sugar: 1g
- Sodium: 320mg
- Fat: 24g
- Carbohydrates: 6g
- Fiber: 6g
- Protein: 14g
- Recipe Timing
- Nutritional Recipe
- Why You’ll Love This Keto Avocado Egg Cups
- The Complete Cooking Journey
- Ingredients:
- Method:
- Step 1: Preheating the Oven and Preparing the Baking Dish
- Step 2: Halving and Pitting the Avocado
- Step 3: Scooping Out the Avocado Flesh for the Egg Well
- Step 4: Placing the Avocados in the Baking Dish
- Step 5: Cracking the Eggs into the Avocados
- Step 6: Seasoning the Avocado Egg Cups
- Step 7: Topping with Cheese and Baking
- Step 8: Garnishing and Serving
- Serving Suggestions & Pairings
- Storage & Leftovers Guide
- Kitchen Wisdom & Success Tips
- Flavor Variations & Adaptations
- Reader Questions & Solutions
- Wrapping Up