There’s a certain magic that happens when you pull a cheesecake out of the oven. The kitchen smells like sweet cream and sunshine, the surface is perfectly set, and you know that all you have to do is wait—patiently—for it to cool before you get to dive in. But this Blueberry Lemon Cheesecake? It’s different. It’s the one that makes people close their eyes when they take their first bite. It’s the one that feels like a celebration, even on a random Tuesday.
I first made this cheesecake for a friend’s birthday, and I remember standing in my kitchen, nervously swirling the deep purple-blueberry sauce into the tangy lemon filling, hoping it would look as dramatic as it did in my head. When I finally cut that first slice, revealing the beautiful marbled pattern inside, I actually gasped. It was a total “I made that” moment. The creamy, rich cheesecake, the bright zip of fresh lemon, and those sweet-tart berries all working together in perfect harmony. Trust me, this is the dessert you want to bring to the table.
Recipe Timing
- Prep Duration: 30 minutes (plus chilling time)
- Active Cooking: 1 hour 10 minutes
- Total Duration: 6 hours 30 minutes (includes cooling and setting time)
- Portion Size: 12 generous slices
- Complexity: Moderate
Nutritional Recipe
- Calories per portion: 455 kcal
- Protein: 7g
- Carbs: 43g
- Fats: 29g
- Fiber: 1g
- Sugars: 32g
- Sodium: 310mg
Why You’ll Love This Blueberry Lemon Cheesecake
This cheesecake is the perfect balance of bright and creamy. It’s not too heavy, thanks to the way lemon cuts through the richness, and it’s not too sweet, thanks to the slightly tart blueberry swirl. The crust is buttery and crisp, the filling is silky and smooth, and the whole thing feels fancy without being fussy. Plus, you get that gorgeous, bakery-worthy presentation without needing any special skills. You’ll feel like a rockstar when you serve it.
The Complete Cooking Journey
Making a cheesecake might feel a little intimidating, but I promise it’s just a series of simple steps done with a little love. We’ll start with a crunchy graham cracker crust, press it into the pan, and let it get lightly toasted. Then, we’ll whip up a luscious cream cheese filling, brighten it with lemon zest and juice, and create a quick homemade blueberry swirl. The fun part is gently spooning the sauce over the filling and dragging a knife through it to create a marbled masterpiece. Then it’s into a water bath for a low-and-slow bake that guarantees a crack-free top. After a long, patient chill in the fridge, you’ll be rewarded with the most beautiful, creamy, and absolutely delicious cheesecake you’ve ever made.
Ingredients:
For the Graham Cracker Crust:
- 1 ½ cups (180g) graham cracker crumbs
- ¼ cup (50g) granulated sugar
- 6 tablespoons (85g) unsalted butter, melted
For the Blueberry Swirl:
- 1 ½ cups (200g) fresh or frozen blueberries
- 3 tablespoons (35g) granulated sugar
- 1 tablespoon fresh lemon juice
- 1 teaspoon cornstarch mixed with 1 tablespoon cold water
For the Cheesecake Filling:
- 32 oz (900g) full-fat cream cheese, softened to room temperature
- 1 cup (200g) granulated sugar
- 1 tablespoon all-purpose flour
- 1 tablespoon fresh lemon zest (from about 2 lemons)
- 2 tablespoons fresh lemon juice
- 1 teaspoon vanilla extract
- 4 large eggs, at room temperature
- ⅔ cup (160ml) sour cream, at room temperature
- ¼ cup (60ml) heavy cream
Method:
Step 1: Prepare the Crust Base
Preheat your oven to 325°F (163°C). In a medium bowl, mix together the graham cracker crumbs, sugar, and melted butter until the mixture looks like wet sand and holds together when you squeeze it. Press the mixture firmly into the bottom of a 9-inch springform pan. Use the bottom of a measuring cup to really pack it down. Bake for 10 minutes, then set aside to cool slightly while you make the filling.
Step 2: Simmer the Blueberry Sauce
In a small saucepan, combine the blueberries, 3 tablespoons of sugar, and the lemon juice. Cook over medium heat, stirring occasionally, until the berries burst and the mixture becomes syrupy, about 5 minutes. Stir in the cornstarch slurry and continue cooking for another minute until the sauce thickens. Remove from heat and let it cool. You can strain the seeds out if you prefer a smooth sauce, but I love the little bits of berry.
Step 3: Beat the Cream Cheese Base
In a large bowl using an electric hand mixer or in the bowl of a stand mixer fitted with the paddle attachment, beat the softened cream cheese on medium speed until completely smooth and free of lumps. This is crucial—don’t rush it! Scrape down the sides and bottom of the bowl. Add the sugar, flour, and lemon zest, and beat until combined and creamy.
Step 4: Incorporate the Wet Ingredients
With the mixer on low speed, add the lemon juice and vanilla extract. Add the eggs one at a time, beating each just until the yolk disappears into the batter before adding the next. Over-beating at this stage can add too much air, which causes cracks later. Finally, mix in the sour cream and heavy cream until just combined. The batter should be smooth and velvety.
Step 5: Assemble and Marble the Cheesecake
Pour the cheesecake filling over the pre-baked crust. Smooth the top with a spatula. Spoon the cooled blueberry sauce over the filling in small dollops. Take a butter knife or a skewer and drag it gently through the batter in a figure-eight pattern to create the marble effect. Don’t over-swirl, or you’ll lose the distinct ribbons.
Step 6: Bake in a Water Bath
Bring a kettle of water to a boil. Wrap the bottom of your springform pan tightly with a double layer of aluminum foil to prevent water from seeping in. Place the pan inside a larger roasting pan. Pour the boiling water into the roasting pan until it reaches about halfway up the sides of the springform pan. Carefully transfer to the oven and bake for 55-65 minutes, or until the edges are set and the center still has a slight jiggle when you gently shake the pan.
Step 7: Cool and Chill Completely
Turn off the oven, crack the door open, and leave the cheesecake inside for one hour. This gentle cooling prevents cracking. Remove the pan from the water bath, take off the foil, and let the cheesecake cool completely on a wire rack. Once it’s at room temperature, cover it with plastic wrap and refrigerate for at least 4 hours, but overnight is best for the perfect texture.
Step 8: Slice and Serve the Masterpiece
When you’re ready to serve, run a thin knife around the edge of the pan to loosen the cheesecake, then release the springform latch. Slice using a sharp, clean knife, wiping the blade between cuts for picture-perfect pieces. Serve cold or let it sit at room temperature for 10 minutes to soften slightly.
Serving Suggestions & Pairings
This cheesecake is stunning all on its own, but if you want to dress it up, add a dollop of freshly whipped cream and a few extra fresh blueberries on top. It pairs beautifully with a cup of strong black coffee or a delicate Earl Grey tea. For a summer party, you could even serve it with a simple lemon curd or a drizzle of honey. It’s also the perfect ending to a spring brunch or a festive Easter dinner.
Storage & Leftovers Guide
If you have any leftovers (which is rare in my house), cover the cheesecake tightly with plastic wrap or store it in an airtight container in the refrigerator. It will stay fresh and delicious for up to 5 days. You can also freeze individual slices! Wrap each slice tightly in plastic wrap, then a layer of foil, and freeze for up to 3 months. Thaw in the fridge overnight before serving.
Kitchen Wisdom & Success Tips
- Room Temperature is Key: Make sure your cream cheese, eggs, and sour cream are at room temperature. This ensures a silky, lump-free batter. Cold ingredients create a lumpy, dense cheesecake.
- Don’t Skip the Water Bath: The steam from the water bath keeps the oven humid and bakes the cheesecake evenly, which is the number one secret to preventing cracks.
- The Jiggle Test: Your cheesecake is done when the edges are set but the center still wobbles like a firm Jell-O. It will continue to set as it cools.
- Patience is a Virtue: The hardest part is waiting for it to chill overnight, but this step is non-negotiable for the best texture and flavor.
Flavor Variations & Adaptations
- Gluten-Free: Use gluten-free graham crackers or vanilla wafer cookies for the crust.
- Raspberry Lemon: Swap the blueberries for fresh or frozen raspberries.
- Strawberry Lime: Use strawberries and lime zest and juice for a different citrus twist.
- No-Bake Version: For a no-bake version, replace the eggs with a can of sweetened condensed milk (14 oz) and fold in a cup of heavy cream that’s been whipped to stiff peaks. Pour into the crust and chill for 6 hours (no water bath needed).
Reader Questions & Solutions
Q: My cheesecake cracked right down the middle! What did I do wrong?
A: Don’t panic, it happens to everyone! Cracks are usually caused by over-baking, over-mixing the batter (too much air), or a drastic temperature change. Make sure you do the jiggle test, cool the cheesecake slowly in the oven, and always use a water bath.
Q: Can I use low-fat cream cheese or Neufchâtel?
A: You can, but the texture won’t be as rich or creamy, and it might be a bit softer. For the best, most authentic cheesecake experience, stick with full-fat blocks of cream cheese.
Q: How do I get clean, perfect slices?
A: Use a large, sharp chef’s knife. Run the blade under hot water, wipe it dry, and then make your cut. Clean and reheat the blade between each slice. This gives you those gorgeous, bakery-style pieces.
Q: My blueberry swirl sank to the bottom. How can I prevent this?
A: Make sure your blueberry sauce has cooled completely before adding it to the batter. Warm sauce is thinner and will sink. Also, don’t over-swirl it—gentle figure-eights are all you need.
Q: Can I make this in a standard 9-inch cake pan instead of a springform?
A: It’s tricky because you wouldn’t be able to remove it cleanly. If you absolutely must, line the pan with parchment paper slings (both lengthwise and crosswise) to lift it out. A springform pan is really the best tool for the job.
Wrapping Up
I hope you feel ready to tackle this beautiful Blueberry Lemon Cheesecake. It’s one of those recipes that looks incredible, tastes even better, and fills your home with the most wonderful aroma. Whether you’re making it for a holiday, a birthday, or just because you deserve something special, this cheesecake is sure to bring a smile to everyone’s face. So get your ingredients ready, preheat that oven, and let’s make some memories. You’ve got this!
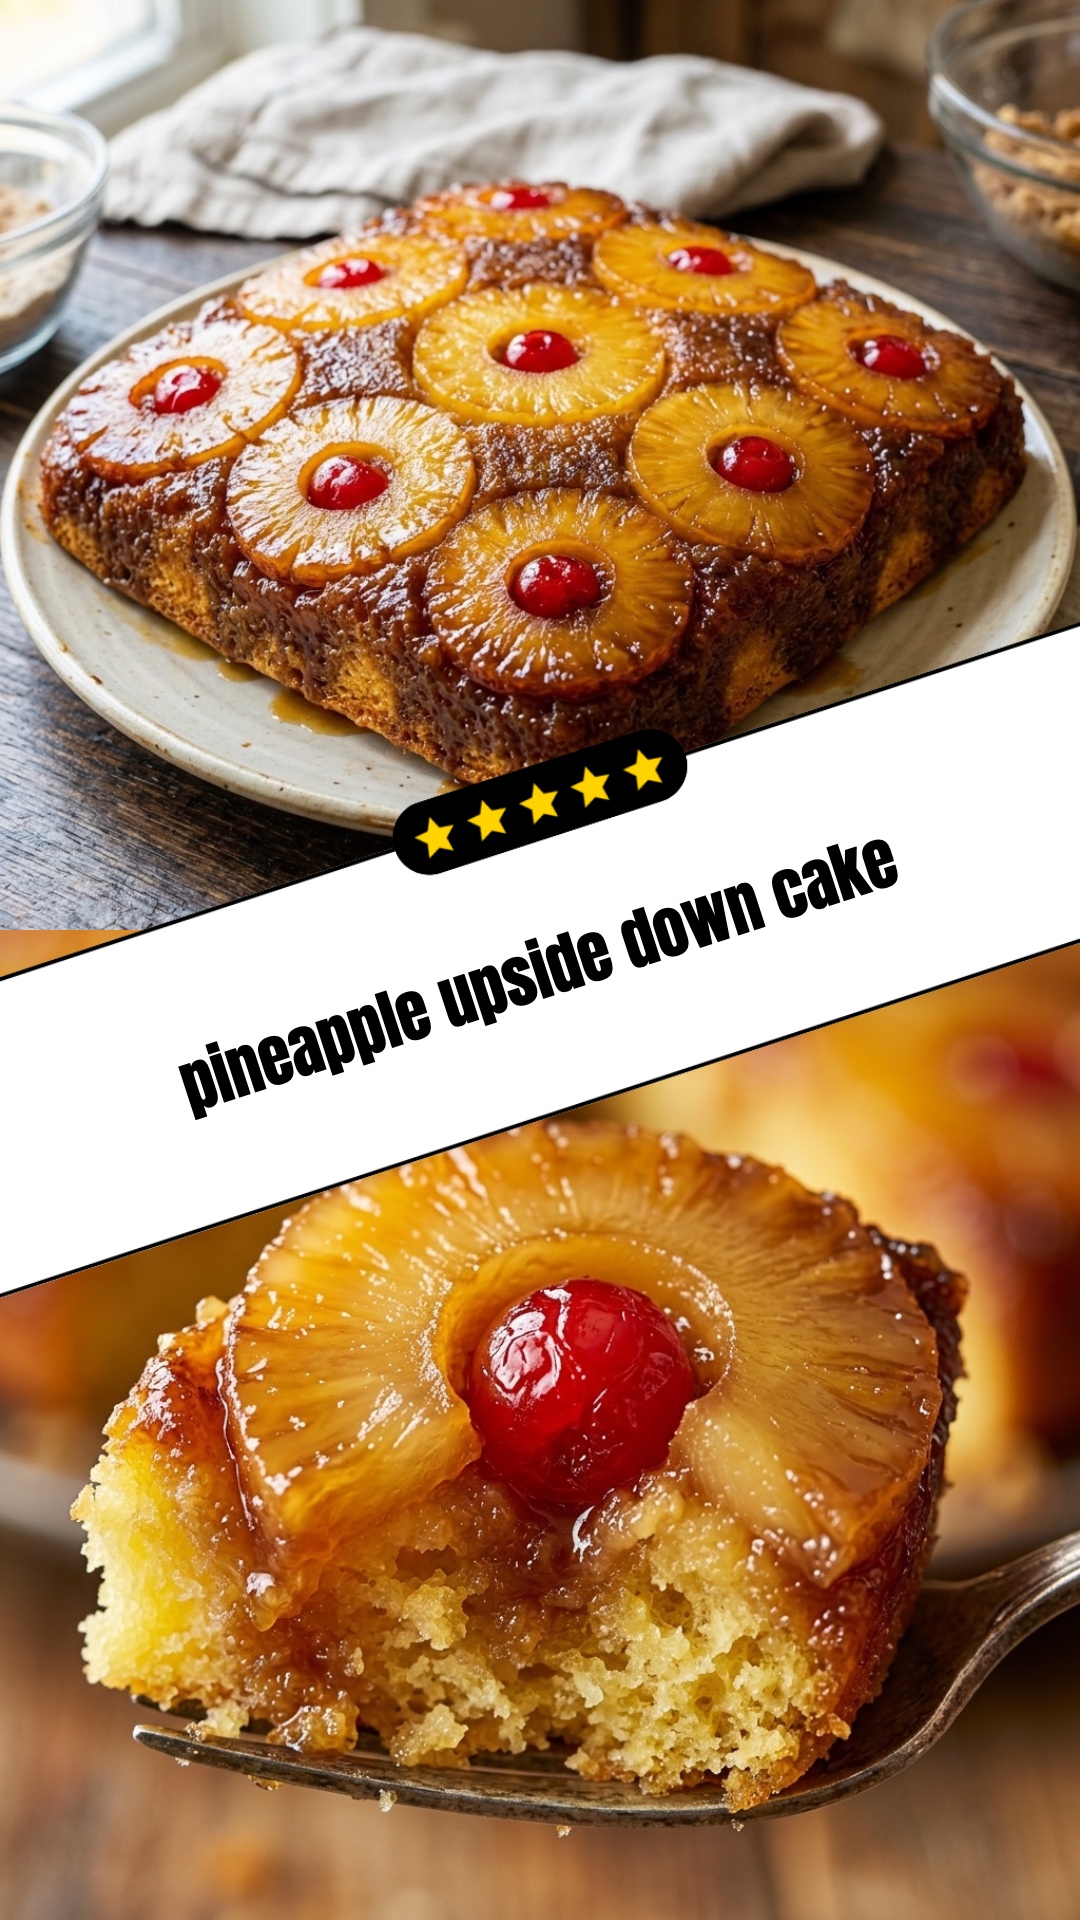
pineapple upside down cake