There’s something about a snowy Sunday morning that begs for cinnamon rolls. But here’s the thing: I’m a sourdough girl at heart, which means my fridge is perpetually home to a jar of bubbly starter—and an equally persistent pile of discard. For years I felt guilty tossing that tangy, fermented flour-water mixture, until the day I decided to bake it into something magical. The result? The softest, fluffiest, most deeply flavored cinnamon rolls I’ve ever pulled from my oven.
That first bite was a revelation. The dough had a subtle, almost buttery tang that played perfectly against the sweet, gooey cinnamon filling. My kitchen smelled like a bakery and a farmhouse had a beautiful baby. These rolls aren’t just a way to use up discard—they’re a reason to have discard. And once you try them, you’ll understand exactly what I mean. Let’s bake some joy.
Recipe Timing
- Prep Duration: 25 minutes (active dough mixing)
- Active Cooking: 25-30 minutes (bake time)
- Total Duration: 2 hours 45 minutes (includes two rises and cooling)
- Portion Size: 12 generous rolls
- Complexity: Moderate
Nutritional Recipe
- Calories per portion: 340
- Protein: 7g
- Carbs: 52g
- Fats: 12g
- Fiber: 2g
- Sugars: 22g
- Sodium: 380mg
Nutrition is an estimate based on a standard cream cheese glaze and all‑butter dough.
Why You’ll Love This Sourdough Discard Cinnamon Rolls
You know that moment when you take a bite of a cinnamon roll and the dough is so soft it almost melts, but there’s this fantastic little tang that keeps it from being one‑note sweet? That’s what we’re making here. The discard adds an incredible depth of flavor—think of it as the savory secret weapon that makes everything taste more complex and satisfying.
These rolls are also forgiving. Unlike artisan sourdough loaves that demand precise timing and a bubbly, active starter, this recipe works beautifully with any discard—straight from the fridge, day‑old, even fed a few days ago. It’s almost impossible to mess up. And the best part? Your house will smell like a dream, you’ll feel brilliantly resourceful for using up that discard, and you’ll have twelve perfect reasons to invite the neighbors over for coffee.
The Complete Cooking Journey
Making cinnamon rolls from scratch can feel like a big project, but I promise the process is as rewarding as the final bite. We’ll start by awakening the yeast in a warm, milky bath before welcoming our tangy discard into the fold. Then comes my favorite ritual: kneading the soft, supple dough until it’s smooth as a baby’s cheek. After a cozy first rise, we’ll roll it out, slather it with a glorious cinnamon‑brown sugar butter, and roll it up like a precious log. The second rise is where the magic happens—the rolls puff up and nestle into each other, ready to bake into golden, swirled perfection. Then comes the glorious moment when warm rolls meet a cloud of cream cheese glaze. Trust me, the journey is half the joy.
Ingredients:
For the Dough:
- 1 cup whole milk (warmed to 110°F)
- 2 ¼ teaspoons active dry yeast (one packet)
- ½ cup granulated sugar
- 1 cup sourdough discard (unfed, straight from the fridge is perfect)
- 1 large egg (room temperature)
- 1 large egg yolk (room temperature)
- 4 tablespoons unsalted butter (melted and cooled)
- 4 cups all‑purpose flour (plus extra for dusting)
- 1 teaspoon fine sea salt
For the Cinnamon Filling:
- ½ cup unsalted butter (very soft, almost room temperature)
- 1 cup packed light brown sugar
- 2 tablespoons ground cinnamon
- ¼ teaspoon fine sea salt
For the Cream Cheese Glaze:
- 4 oz cream cheese (softened)
- 4 tablespoons unsalted butter (softened)
- 1 ½ cups powdered sugar
- 2 tablespoons whole milk (or more for desired consistency)
- 1 teaspoon vanilla extract
Method:
Step 1: Prepare the Yeast Mixture
In a small bowl or liquid measuring cup, combine the warmed milk (110°F / 43°C—warm but not hot to the touch) with the active dry yeast and one teaspoon of the sugar. Whisk gently, then let it sit for 5–7 minutes until the mixture becomes foamy and bubbly. This tells you your yeast is alive and happy.
Step 2: Mix the Wet Ingredients
In the bowl of a stand mixer fitted with the dough hook, combine the remaining sugar, the sourdough discard, the whole egg, the egg yolk, and the melted and cooled butter. Pour in the foamy yeast mixture and stir by hand with a wooden spoon until everything is combined. It will look a little lumpy—that’s okay.
Step 3: Form the Dough
Add 3 ½ cups of the flour and the salt to the bowl. Mix on low speed until a shaggy dough forms—about 2 minutes. With the mixer running on low, add the remaining ½ cup of flour a little at a time, just until the dough pulls away from the sides of the bowl. It should feel soft, slightly tacky, but not sticky. If it’s too wet, add an extra tablespoon of flour at a time.
Step 4: Knead the Dough
Knead on medium‑low speed for 6–8 minutes, or until the dough is smooth, elastic, and springs back when you poke it gently. If kneading by hand, turn the dough out onto a lightly floured surface and knead for about 10 minutes. You’ll know it’s ready when it feels like a plump, silky pillow.
Step 5: First Rise
Lightly oil a large bowl, place the dough inside, and turn it to coat all sides. Cover the bowl with plastic wrap or a clean kitchen towel. Let it rise in a warm, draft‑free spot for 1 to 1 ½ hours, or until doubled in size. I like to set my oven to “proof” setting or just place the bowl on top of my warm refrigerator.
Step 6: Prepare the Cinnamon Filling
While the dough rises, make the filling. In a small bowl, beat together the very soft butter, brown sugar, cinnamon, and salt until it forms a smooth, spreadable paste. Set aside.
Step 7: Roll and Fill the Dough
Turn the risen dough out onto a lightly floured surface. Use a rolling pin to roll it into a large rectangle about 16 x 12 inches and ¼‑inch thick. Spread the cinnamon filling evenly over the entire surface, leaving a 1‑inch border along one long edge. Starting from the opposite long edge, roll the dough tightly into a log, pinching the seam to seal.
Step 8: Cut and Second Rise
Using unflavored dental floss or a sharp serrated knife, cut the log into 12 equal rolls (about 1 ½ inches wide). Place the rolls cut‑side up in a greased 9×13‑inch baking dish or a 10‑inch round skillet, leaving a little space between each. Cover loosely with plastic wrap and let rise again for 30–40 minutes, until puffy and touching.
Step 9: Bake the Rolls
Preheat your oven to 350°F (175°C). Uncover the rolls and bake for 25–30 minutes, until the tops are golden brown and the center rolls are cooked through. If the tops brown too quickly, tent loosely with foil after 20 minutes. Let the rolls cool in the pan for about 10 minutes.
Step 10: Make the Glaze and Serve
While the rolls cool, beat the softened cream cheese and butter together until smooth. Gradually add the powdered sugar, milk, and vanilla, beating until the glaze is luscious and spreadable. Pour or spread the glaze generously over the warm rolls. Serve immediately.
Serving Suggestions & Pairings
These rolls are a celebration all on their own, but if you want to go full brunch mode, pair them with a platter of crispy bacon or savory sausage links to balance the sweetness. A side of fresh berries or a simple arugula salad with a lemony vinaigrette cuts through the richness beautifully. For drinks, a hot, strong cup of black coffee is the classic companion, but a tall glass of cold milk or a chai latte is equally divine. I also love serving these alongside a frittata or scrambled eggs for a meal that feels both indulgent and balanced.
Storage & Leftovers Guide
Got leftovers? Lucky you. Store any uneaten rolls in an airtight container at room temperature for up to 2 days. The glaze will firm up a bit, but the rolls stay remarkably soft. For longer storage, place them in the fridge for up to 5 days—though I recommend reheating them to bring back that fresh‑from‑the‑oven magic. To freeze, wrap individual rolls (un‑glazed or glazed) tightly in plastic wrap, then pop them into a freezer bag for up to 3 months. Reheat a frozen roll in the microwave for 30–40 seconds, or in a 300°F oven for 10 minutes, then add a fresh drizzle of glaze if you’re feeling fancy.
Kitchen Wisdom & Success Tips
- Warm milk matters: Milk that’s too hot (above 120°F) will kill your yeast; too cool and the yeast won’t bloom. Use an instant‑read thermometer if you have one, or test the milk on your wrist—it should feel comfortably warm, like a baby’s bathwater.
- Don’t over‑flour your dough: The dough should be soft and slightly tacky, not dry. Add flour sparingly. A sticky dough yields tender rolls.
- Cold discard is just fine: No need to bring your discard to room temperature. Cold discard actually helps keep the dough from overheating during kneading.
- Use dental floss for clean cuts: This is the single best trick for perfectly shaped rolls. Slide a length of unflavored floss under the log, cross the ends over the top, and pull. You’ll never go back to a knife.
- Check for doneness with a thermometer: If you’re unsure, an instant‑read thermometer inserted into the center roll should read 190°F (88°C). That’s your guarantee of a fully baked, fluffy interior.
Flavor Variations & Adaptations
- Apple Cinnamon: Add 1 cup of finely diced apple (tossed in a little lemon juice) to the filling before rolling. The apples soften as they bake, adding pockets of fruity tenderness.
- Chocolate Hazelnut: Swap the cinnamon filling for a generous spread of Nutella, then sprinkle with chopped toasted hazelnuts. Bake as directed and glaze with a simple chocolate ganache.
- Savory Herb Rolls: Omit the cinnamon and brown sugar. Instead, spread the dough with softened butter, garlic, fresh rosemary, and grated Parmesan. Bake without the glaze and serve alongside soups or stews.
- Whole Wheat Option: Replace 1 cup of all‑purpose flour with whole wheat flour. The rolls will be a bit denser and nuttier, but still delicious. You may need an extra tablespoon of milk to keep the dough soft.
- Vegan Adaptation: Use plant‑based milk, vegan butter, and a flax egg (1 tablespoon flaxseed meal + 3 tablespoons water). For the glaze, use vegan cream cheese.
Reader Questions & Solutions
Q: My dough was too sticky to roll out. What went wrong?
A: A sticky dough often means you added too much liquid or not enough flour. Next time, measure your flour by spooning it into the cup and leveling it off, rather than scooping directly from the bag. If you’re already in the sticky situation, knead in a bit more flour, one tablespoon at a time, until it feels manageable.
Q: My rolls came out dry. How can I prevent that?
A: Dry rolls usually result from over‑baking or too much flour in the dough. Use an oven thermometer to verify your oven temperature, and start checking the rolls at 23 minutes. Also, make sure you’re not over‑kneading—stop as soon as the dough is smooth and elastic.
Q: Can I use active starter that’s been fed recently instead of discard?
A: Absolutely! You can use bubbly, active starter if that’s what you have. The rolls will rise a bit quicker and have a slightly milder tang. You might reduce the yeast slightly—say, 1 ½ teaspoons instead of 2 ¼—because the active starter provides its own leavening power.
Q: Why didn’t my rolls rise much during the second rise?
A: The second rise can be sluggish if your kitchen is cold or if the dough got chilled from the filling. Try placing the pan on the top of your warm oven or near a sunny window. A cold environment can add 15–20 minutes to the rise time.
Q: My glaze turned out too thick/thin. Can I fix it?
A: Absolutely. For a too‑thick glaze, whisk in a few extra drops of milk or cream until it reaches your desired consistency. For a too‑thin glaze, add more powdered sugar, one tablespoon at a time, until it thickens. The perfect glaze should be thick enough to hold its shape for a moment before slowly flowing over the rolls.
Wrapping Up
And there you have it—a pan of absolutely irresistible sourdough discard cinnamon rolls that turn kitchen scraps into pure gold. Every swirl tells a story of resourcefulness and love, of a cozy morning with the smell of cinnamon drifting through the house, and of the simple joy of baking something that makes everyone smile. I hope these rolls become a treasured tradition in your kitchen, just as they have in mine. Now go ahead—grab that jar of discard, crank up your favorite playlist, and let the baking magic begin. Happy rolling, friends.

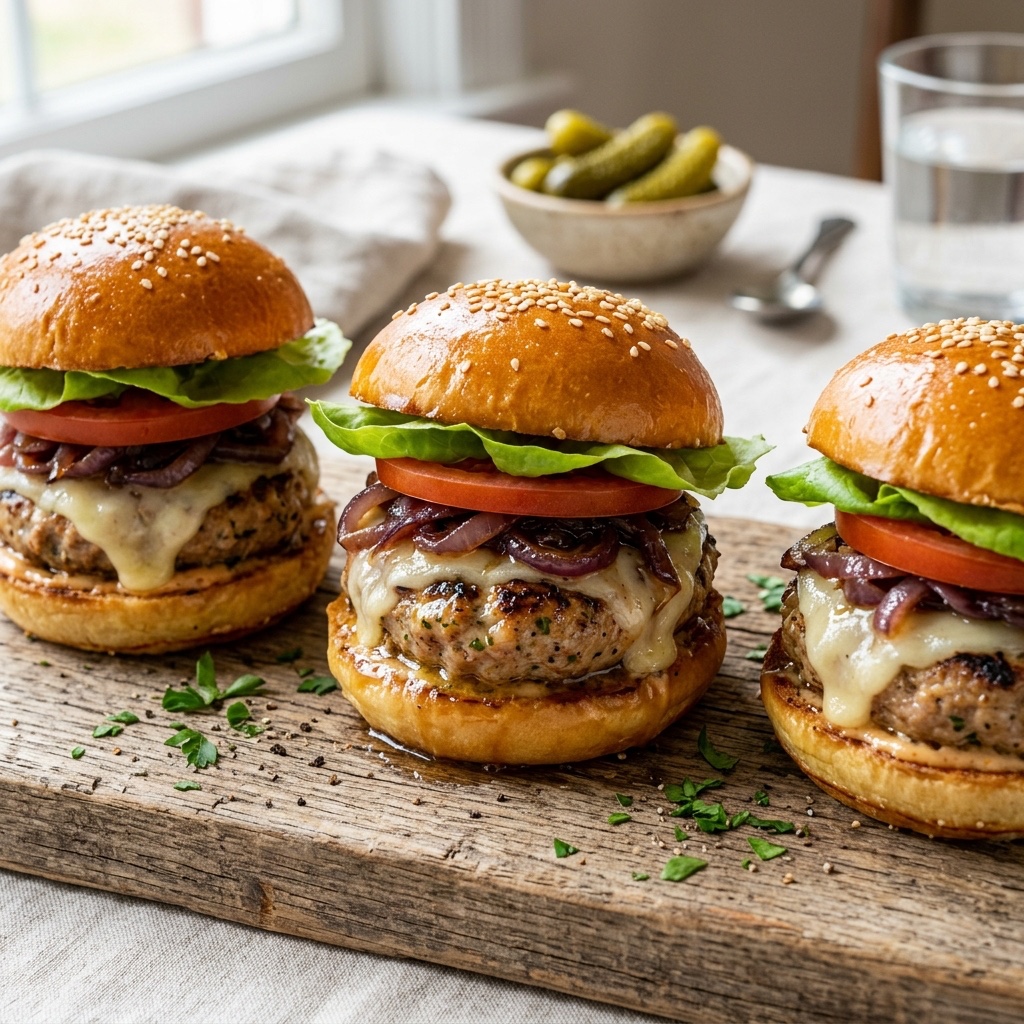
Turkey Burger Sliders